Happy New Year!

Japanese Sheep
Japanese Sheep

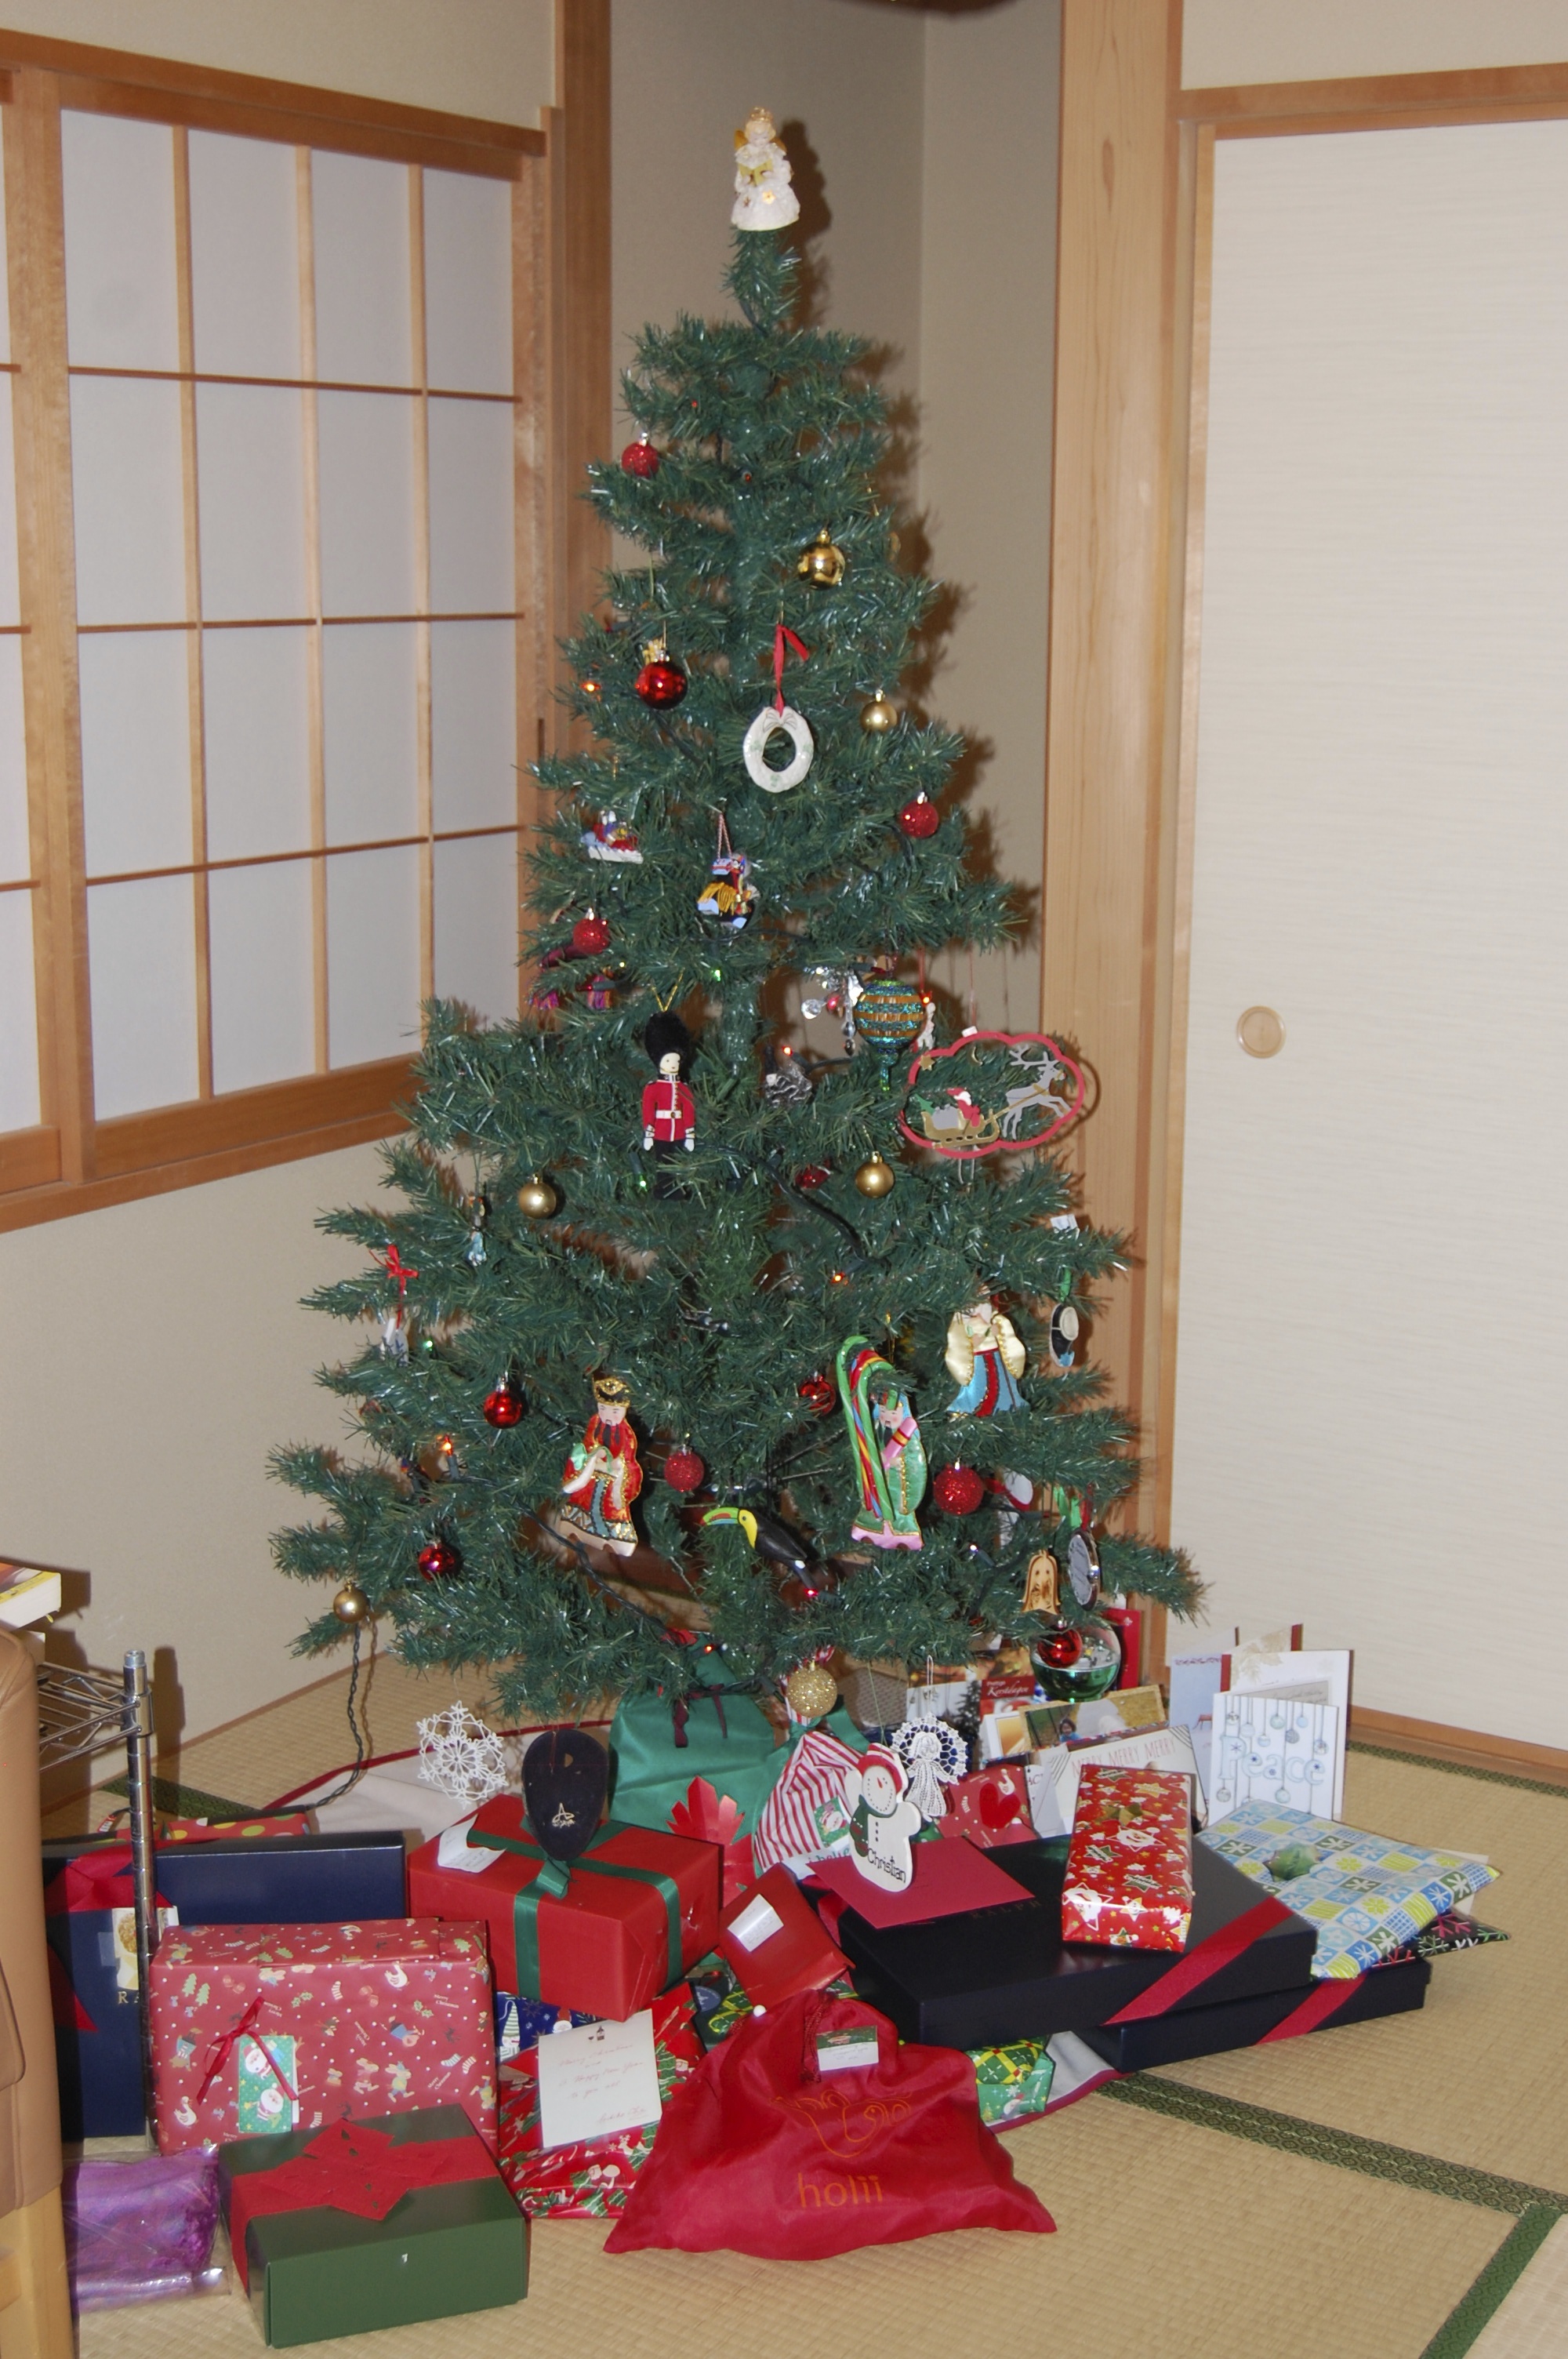
Happy New Year! All around the globe the new year is celebrated in different ways. Here in Japan people celebrate o-shogatsu, the new year, with many special traditions. One of the important traditions seen all over the country is the celebration of the new animal for the year. This year it is the year of the sheep. Perhaps you’re familiar with the Chinese calendar of twelve different animals.

At our first class this week, we’ll begin by wishing everyone a Happy New Year 2015, the year of the sheep. I wrote a simple song to teach the year and how to spell the word “sheep.” We had fun creating a recording for you at home with our son Christian.

It’s The Year 

lyrics by Kathleen Kampa Vilina, melody (For He’s a Jolly Good Fellow/ BINGO)

sung by Christian Vilina

Intro:

Baa, baa, black sheep,

Have you any wool?

Yes, sir, yes, sir.

Three bags full.

It’s the year of the sheep.

It’s the year of the sheep.

It’s the year of the sheep.

It’s 2015!

s-h-e-e-p, s-h-e-e-p, s-h-e-e-p,

It’s the year of the sheep.

1. Show students the picture of a sheep.

 Image courtesy of TCJ2020 at FreeDigitalPhotos.net
Image courtesy of TCJ2020 at FreeDigitalPhotos.net

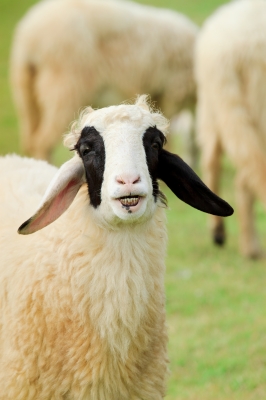
When they sing the word “sheep” they can make a pose like a sheep or point to the picture. If you have lively students, they might enjoy skipping or galloping during this part of the song instead.

2. On the words, “It’s 2015,” students stop moving and make the numbers 2015 with their fingers. Very young students can stop and wave their arms in the air as if saying “Hooray!”

3. Write the letters for the word “sheep” on the board. Clap the rhythm below to accompany the letters. (slow, slow, quick quick, slow)

UnknownUnknown images-1Unknown

To make it more challenging, students can pat, stamp, or snap the rhythm. My students like to clap the first time they spell “sheep,” then they pat their legs, and finally they stamp their feet. If you have instruments in your classroom, you can play this part.

4. The song ends with “It’s the year of the sheep!” Students make the sheep pose, or point to the picture.

———————————————————————————————————————-

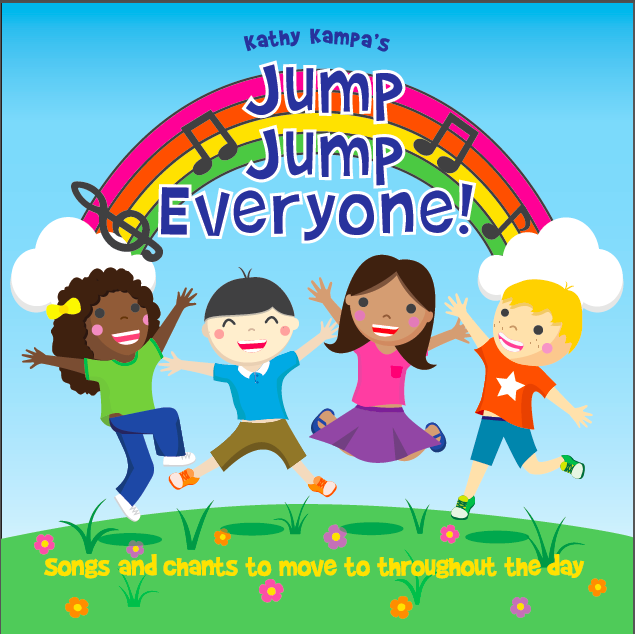
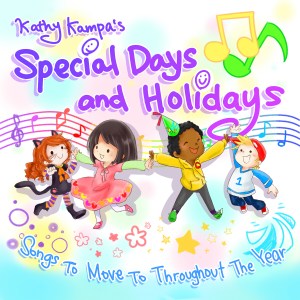
You can also celebrate the New Year with our song, “Happy New Year!” I wrote it with our son Christian, and it is always a hit with our students. You can find it on Kathy Kampa’s Special Days and Holidays. The lyrics are easy for students to follow.

Students like to pat their legs, then clap their hands to the beat.

On the last Happy New Year, they turn around and wave their hands.

Happy New Year!

Happy New Year!  Happy New Year!

Happy New Year!  Happy New Year!

Happy New Year!  Happy New Year!

Happy New Year!  Hip hip hooray!

ms kampa 12-8

Santa’s Cookies and Milk

Our Christmas Tree here in Japan with ornaments from around the world
Our Christmas tree here in Japan with ornaments from around the world

Do you celebrate Christmas?  For us, it’s a time to sing songs about Santa Claus, reindeer, Christmas trees, jingle bells,  gingerbread cookies, and the birth of Jesus. It’s a time to bake special cookies, too.

Even though our two sons are adults, we still enjoy many of the traditions they knew as children. Our Christmas Eve celebrations include a festive dinner, opening gifts by the Christmas tree, and singing Christmas carols. When the evening draws to a close, we put out a plate of homemade cookies and a glass of milk for Santa Claus. A note is written for Santa, and the next morning, a reply from Santa is waiting for us!

Cookies and Milk left for Santa
Cookies and milk left for Santa

I wrote this simple song to the melody of Twinkle, Twinkle Little Star to remember this special moment in our lives. The lyrics were written with EFL and ESL students in mind.

You can sing it on your own, but here’s a complimentary music track from my CD entitled Kathy Kampa’s Special Days and Holidays.

Santa’s Cookies and Milk Words by Kathleen Kampa and Charles Vilina

Spoken: Dear Santa, Welcome to my house. I’ve been very good this year.

Have some cookies. (gesture with one hand to the side)

Have some milk. (gesture with the other hand)

Christmas cookies and a glass of milk. (Shake hands like twinkling Christmas stars. You can make it fancier by moving your hands in big circles from above your head to your sides.)

Eat the cookies. 1-2-3 (gesture eating cookies, then fingers 1-2-3)

Drink the milk. It’s from me. (gesture drinking milk, then point to self)

Have some cookies. (gesture with one hand to the side)

Have some milk. (gesture with the other hand)

Christmas cookies and a glass of milk.   (Shake hands like twinkling Christmas stars. )

Spoken: Thanks Santa! Have a good night! Good-bye!

For more tips on performances, see this blog post. https://magictimekids.com/2014/12/05/making-the-most-of-student-performances/

Cute way to give Christmas cookies!
A cute way to give Christmas cookies!

Check out this cute idea for a cookie holder! Invite students to decorate the plate before folding it up. Be sure to show students a model of the folded one so that they know where they can draw. Turn the plate upside down on a clean surface to add drawings. Cut on the lines, too, before drawing.  Remember that the drawings will be on the bottom of the plate. Decorate with red ribbon and a little bell for Christmas. Wishing you all the best for Christmas and throughout the year from our family to yours.  May the magic of Christmas remain in your hearts.

Chuck, Christian, Kathy, and John on Christmas Eve 2013

Imaginative Ideas for Halloween

Kathy on Halloween with her students - Version 3

I love Halloween! It’s a time of year when students can use their imaginations and pretend to be many different characters. The photo above shows me with some of my students.

How can your students use their imaginations and expand their creativity?

1. USE VISUALS  Build Halloween vocabulary by showing pictures, puppets, or other visuals.

These Halloween characters made from recycled toilet paper rolls are a simple way to get started. This first activity is by Artsy Momma. The second one is by Connect English School. Click on the first picture to find more Halloween activities on our Pinterest page.

Toilet-Paper-Tube-Halloween-Character-Crafts-cardboard-tube-crafts

Inspired by the outline of students' hands
Inspired by the outline of students’ hands

2. ADD MOVEMENT IN DIFFERENT WAYS   Movement is an important way for children to learn. How do you feel about movement in your classroom? It’s important to teach students the commands “Move!” and “Stop!” Games like Simon Says help students learn this important skill, too.

Your students can create movements like Halloween characters. Hold up a picture card and have students make a “pose” in one place.

Now students can move around a circle. Say, for example, “Abracadabra! Move like a witch!” Students can move like a witch around the circle. This might look like galloping or flying on a broomstick. You might have students move for ten counts. Count to ten. “1-2-3-4-5-6-7-8-9-10” and say “Stop!” Praise students who have stopped moving. Then repeat with other characters.

Here are some suggestions for movement:

Witch: Students pretend to fly on broomsticks by holding their hands in front of their bodies and galloping.

Ghost: Students move their arms smoothly up and down, while walking in curvy pathways around the room.

Bat: Students pull their elbows in to create small wings. They move quickly around the room. My students also like to pretend they’re sleeping bats by folding their arms in and creating an upside-down pose.

Owl: Students stand in one place with their arms down. They turn their heads from side to side.

Black Cat: Students pretend to have whiskers, paws, and a tail. They sneak around with tiptoeing movements. I remind them to be “kind cats.”

3. ADD PROPS  Students can also use their imaginations with costumes or props. With a scarf, a student can turn into a prince or princess, ride a witch’s broomstick, or become a spooky ghost. Pieces of fabric can be used over and over again and made into various costumes.

4.  ADD MUSIC  My Halloween song “I’m A Witch” prompts students to imagine becoming different Halloween characters.

Before we move to the song, we sit down together to listen to it. I sing my transitional song before we start, Come and Sit In Front of Me. I’m happy to provide this FREE professional version for you!

Here are the lyrics to Come and Sit in Front of Me:

Come and sit in front of me,

In front of me, in front of me,

Come and sit in front of me,

In front of me.

(Repeat)

Now you’re ready to listen to I’m a Witch.

Here’s a simple version of the song. (A more professional version is available below.)

I’m A Witch

Words by Kathleen Kampa and Charles Vilina

copyright © 2013 by Kathleen Kampa

Music: Skip to my Lou

(Available on iTunes on Kathy Kampa’s Special Days and Holidays — see Track #10)

Spoken: Let’s be witches and fly on our broomsticks.

Hee! Hee! Hee! I’m a witch!

Hee! Hee! Hee! I’m a witch!

Hee! Hee! Hee! I’m a witch!

Happy Halloween!

Spoken: Let’s be ghosts and float gently through the air.

Boo! Boo! I’m a ghost! (3X) Happy Halloween!

Spoken: Let’s be bats and fly through the night sky.

Eeek! Eeek! I’m a bat! (3X) Happy Halloween!

Spoken: Let’s be owls and turn our heads from side to side.

Whoo! Whooo! I’m an owl! (3X) Happy Halloween!

Spoken: Let’s be black cats. Put on your whiskers and sneak around.

Meow! Meow! I’m a black cat! (3X) Happy Halloween!

Show students images of each of the characters in the song as it plays. Using visuals is important — especially for students learning English. This is an important first step in learning the vocabulary in the song.

Whenever students are moving in your classroom, check to make sure that everything is safe. Push chair legs in, and move things out of the way.

Now students make a circle and move around it. Hold up pictures of each character if they need more practice. Now play the music! Remind students to stop after each character, and listen for the new cues.

If your classroom isn’t conducive to a lot of movement, have each student choose one character for movement. You can have students draw this picture, or pass out small picture cards.

I hope that your students have as much fun as mine do with this song!

Check out the professional version of “I’m a Witch” available on iTunes and CDBaby. Just click on the title below:

 Kathy Kampa’s Special Days and Holidays (Click on Track #10)

Happy Halloween and Happy Teaching!

Kathy and Chuck

Pumpkins and Jack-O-Lanterns

Pumpkin by hin255

Featured image courtesy of hin255/ FreeDigitalPhotos.net.

One of the “big ideas” we teach young learners is the concept of change. Babies grow up. Children can mark their height and see how they are changing. Little seeds planted in the ground in our little paper cups grow into plants. Small pumpkins grow into big pumpkins. Caterpillars turn into butterflies.

Halloween is filled with magical changes. Children put on costumes, and “change into” a princess, Spiderman, a witch, a ghost, or a character from their favorite Disney movie.

When we think of Halloween, we see the magical change of pumpkins into jack-o-lanterns.  When possible, I love to purchase a pumpkin for Halloween and teach children how to carve it into a jack-o-lantern.

In the classroom, it’s easy for students to use craft projects to show both a pumpkin and a jack-o-lantern. For a very simple art project, trace the outline of a pumpkin on orange construction paper. Students cut out the shape.  With colored pencils or crayons, they draw the ridges of the pumpkin on one side, and a face of a jack-o-lantern on the other.

IMG_0479IMG_0480

For more pumpkin craft ideas, check out my Pinterest page with simple cooking and craft ideas.

Here’s a simple chant to teach the words “pumpkin” and “jack-o-lantern.”

Show the students the plain side and say “pumpkin.” Then turn it around and say “jack-o-lantern.”  Once students know these two words, put it into this simple chant:

Jack-o-Lantern Chant by Kathleen Kampa

Pumpkin, pumpkin, (turn picture around) jack-o-lantern
Happy Halloween!

To add more fun, make a small pumpkin/jack-o-lantern and a big one. Students see the change from small to big, and from pumpkin to jack-o-lantern.

Here’s a simple Halloween song that my students absolutely love!

My dear friend Setsuko Toyama has made a beautiful rebus worksheet to help your students read both sight words and pictures.

Pumpkin, Pumpkin Rebus Reading

Pumpkin, Pumpkin
(words adapted by Kathleen Kampa, music: traditional)

(Sit with students in a small circle. Sing quietly.)

Pumpkin, pumpkin, small and fat,
(With fingers, make the shape of a small pumpkin.)

Turn into a jack-o-lantern,
(Roll hands. Spread fingers out wide.)

Just like that!
(Tap two fingers on the palm of your hand as you say each word.)

(Sing the verse again!)

Spoken: Grow and grow and grow and grow
and grow and grow and grow and GROW!
(Slowly stand up while making a big pumpkin shape. If you’re standing in a circle with the students, make it bigger. Get louder! Crescendo!)

(Sing loudly.)

Pumpkin, pumpkin, big and fat,
(While standing, make the shape of a big pumpkin with your whole body.)

Turn into a jack-o-lantern,
(Turn around. Jump into a big shape.)

JUST LIKE THAT!
(Clap and stamp on each word.)

(Sing the verse again!)

Here is a simple recording of the song to let you hear the melody and rhythm.

For a professional version of this song and other Halloween songs I’ve written, click here.

Special Days and Holidays

I’d love to see your children singing and dancing to this song. I’d love to see their cute jack-o-lanterns. Share this idea with your friends. Tell me how you’ve used this with your students.


Do the Skeleton Dance!

Skeleton Dance

Skeleton Dance is definitely one of my students’ favorite songs! It teaches various body parts and directional movements. You can start your school day with it, use it during break time, dance it on a rainy day, move during a health unit, or dance it on Halloween. I have taught Skeleton Dance to students in kindergarten through upper elementary, and everyone enjoys it. I’ve also shared this song with teachers in America, Japan, Korea, Mexico, Taiwan, Thailand, Vietnam, and Indonesia.

You can watch some of my students here in Japan doing the Skeleton Dance, and read the lyrics below:

Here’s how you do the Skeleton Dance:

In this song, students will move four different body parts: shoulders, elbows, knees, and feet.
First, students move their shoulders to the beat.

1. Move your shoulders . . .
A. Skeleton, skeleton, skeleton dance,
Move your shoulders, do the skeleton dance.
Skeleton, skeleton, skeleton dance,
Move your shoulders, do the skeleton dance.

Next, students move their whole bodies to the front, to the back, and to the side. I usually start by moving only my arms, but my students love to jump in each direction.

B. To the front, to the back, to the side, side, side,
To the front, to the back, to the side, side, side,

Next, students move their shoulders up, down, and around. Each time they repeat the song, they will move a different body part in these directions.

C. Put your shoulders up. Put your shoulders down.
Move them up and down and all around.
Put your shoulders up. Put your shoulders down.
Move them up and down and all around.

Finally, students move their shoulders in their own way.

D. Shoulders dance . .ch ch ch ch ch ch ch ch
Shoulders dance . .ch ch ch ch ch ch ch ch

This dance is repeated with the following body parts.
Before I play the music, my students and I figure out how we’ll move up, down, and around using each of these body parts.

2. Move your elbows . . .
3. Move your knees . . .
4. Move your feet . . .

You can download this song from iTunes (Track #15) or CD Baby.

I hope that your students enjoy this as much as mine do.

Engaging Vocabulary Activities for Young Learners

stockimages

Image courtesy of stockimages / FreeDigitalPhotos.net

Do your students enjoy learning vocabulary? It is certainly one of the first steps in learning a new language. A few simple strategies can help our students learn vocabulary meaningfully and productively.

 Presenting the new words

Picture cards can be a very effective way of introducing vocabulary. One method is to point to a picture, say the word, and ask students to repeat it. However, this is a passive approach that doesn’t motivate children to learn — and it doesn’t build their deeper thinking skills.

One approach that provides active learning and deeper thinking is as follows. Let’s assume you are introducing words from Magic Time One Unit 10, which introduces the following pets:

rabbit     dog     turtle     bird     frog     cat

Before class, attach the picture cards for this vocabulary to the board face down (with the back of the card facing the students). Explain to students that you have six pets that you want to introduce to them.

Peel back the first card to secretly look at the first pet. Turn to the students as you imitate the shape or movement of the animal (such as a hopping rabbit, the wagging tail of a dog, or a slow-moving turtle).

Some of your students may know the English word for the animal, and will call out its name. If they do so correctly, nod yes and reveal the card. If not, say the word as you do the action (for example, say frog as you jump like a frog). Then reveal the picture card. When you show the picture card, say the word twice, first pointing to the picture, then to the written word beneath it. Continue in the same way with all six cards.

Another way to do this would be to bring in stuffed animals, pulling them slowly out of a bag until students are able to identify them. You may also do a “slow reveal” of the picture card, sliding it up from behind a book until students are able to guess what it is.

The above activities allow students to tap into their prior knowledge – this will tell us what they already know. It also gets them to think about the subject of pets – as they guess the animals, their brains are thinking about which animals could possibly be pets. This simple activity then becomes a critical thinking activity that engages students far beyond memorization.

Producing the new words

In the next activity, we want to move to more productive skills – with our students actually using the language. Remember that this can take time – students need to move through the receptive stage first. However, this activity motivates them to use the language more quickly.

Let’s assume you are using the set of words from Magic Time One Unit 11, which introduces family members:

grandmother     mother     sister     grandfather     father     brother

Let’s also assume that we have taught these words using one of the activities described above. Our next goal is to get our students to produce these words while using their critical thinking skills.

Attach the family picture cards in random order across the board so that students can see the family members. Then draw a simple picture of a girl on one side of the board, and a picture of a boy on the other side. Ask students to tell you which picture cards belong on which side. This requires students to say the words (grandmother, father, etc.) as they point to them. Then attach the picture cards under the boy or girl, but not in any particular order.

photo 1

Next, invite students to pair up the family members. To do so, point to the mother card as students say mother. Move the card to the top of the board as you say “mother and . . .” Students point to the father card as they say the word father. Then place the two picture cards together on the board. Continue in the same way with sister – brother and grandmother – grandfather.

photo 2

Students can each have their own set of six picture cards, which they can make themselves, or which can be copied from the Magic Time Picture and Word Card Book. You can ask students to classify the cards at their desks, in the two ways described above. You can also ask students to classify and arrange the cards in other ways — from oldest pairs to youngest pairs, for example, or in ABC order. With other picture card sets (such as classroom items), students can arrange the items in other ways, such as from biggest to smallest.

Songs and chants

In Magic Time, we also practice vocabulary by putting the words into chants and songs. This gives students an opportunity to produce the language as they chant and sing along. It also helps students build comprehension of the words. Chants and songs make learning fun and memorable.

Predicting and producing vocabulary

Finally, for Magic Time users, the following activity is very engaging for students, allowing them to predict, think about what they know, and use the language productively. This is normally done after the chant is taught to the students:

On the first and third pages of each unit in Magic Time, students are asked to “Listen and write the number.” Normally, students listen as the narrator on the CD says, “Number One,” followed by a word. Students then write the number “1” in the white circle next to the correct picture in the large scene. This serves as an assessment to see what students know. Click on the link below to see sample pages from Magic Time One Unit 7.

MT1 U7

To make this activity more productive, first put the six picture cards on the board facing the students. Draw a white circle next to each picture card. Pause the CD, and ask students to guess what they think “Number One” will be. Each student needs to point to a picture card and say the word. Write each student’s name beside the picture cards they choose. Then listen to what the narrator says on the CD for “Number One.” Of course, students are listening very closely to see if their guess is correct. If so, they cheer! All students then write the number “1” in the correct white circle in their student books. With the CD paused, students then try to guess the second word, and so on. You can keep track of each student’s correct guesses if you wish. With a large class, this activity can be done with partners or with teams.

These are just three ways to get your students to think more deeply as they use the vocabulary words meaningfully and productively. These activities go beyond simple memorization and comprehension – they allow students to tap into their prior knowledge, to understand relationships, and to predict. They require active participation and active learning, which means happier and more engaged students.

Happy Teaching!

Kathy and Chuck


Build Creativity with Dancing Fingers!

illlustration by Shuli Ko


Can you nurture creativity while building English language skills? Yes, you can!

An important part of creative thinking is to generate many possible solutions. This is easy to do with young learners. Here is a simple activity and chant that you can use to help develop creative and imaginative thinking with your young learners.

Introducing Vocabulary

1. Show students (or draw) a picture of a circle. Say, What is this? Can you make this shape with your fingers?

2. Point out the various ways that your students are making circles. For example:

Yuri is making a tiny circle using her thumb and pointer finger. Can you do that?

Daniel is using all of his fingers to make a circle. Let’s try that, too! We can make circles in many ways.

3. Say, Can you make your circle bigger?  Can you make a circle with a friend?

4. Repeat the three steps above using other shapes. I usually show shapes in the following order because some are a little easier to make than others.

circle

triangle

heart

rectangle (two long sides, and two short sides)

square (four equal sides)

star (five points)

Remember, it’s important to take time making these shapes with your students before putting them into the chant.

Teaching the Chant

Here’s the first verse of the chant.

My Fingers Dance by Kathleen Kampa Vilina ©2003

My fingers, fingers, fingers, fingers, fingers dance!

My fingers, fingers, fingers, fingers, fingers dance!

Make a circle. Take a picture. Click!

Make a circle. Take a picture. Click!

Now, let me break it down so that you know the movement for each part.

1. My fingers, fingers, fingers, fingers, fingers dance!

My fingers, fingers, fingers, fingers, fingers dance!

(For this part, students have fun wiggling or “dancing” their fingers.)

 2. Make a circle.

(Students make the shape with their fingers.)

3. Take a picture. Click!

(Students look through the shape at a classmate, and pretend to take a photo.)

(Repeat steps 2 and 3.)

(Students then substitute the other shapes in this chant.)

You can use any shape picture cards to teach the vocabulary. I used the picture cards from Magic Time 1, Unit Two, for my video. Feel free to add your own shape ideas, such as diamonds, ovals, etc.

Here’s a video I’ve prepared to show you how the chant is done. Just click here.  You can also find a studio version of this chant on iTunes by clicking here.

This chant is also on my new album Jump Jump Everyone, available on iTunes.  Physical CDs are also available.

Cover screen shot

Happy teaching, everyone!

Kathy


Hop Along Easter Bunny (Dance)

In my last post, I explained two ways to teach this song. Here’s a video of my students sharing this dance with you. You can find the lyrics in my blog post “Hop Along Easter Bunny.” If you like this music, check out my CD Kathy Kampa’s Special Days and Holidays, available on iTunes and CD Baby.


Special Days and Holidays

Having Fun with Fortune Tellers!

When I was a little girl, we made “Fortune Tellers” to play with our friends.  We used our homemade fortune tellers to write messages about things that might happen when we grew up.

Your students will love this game.  It’s easy for students to put into their pockets and play wherever they go.  You can practice any vocabulary or grammar by adapting the game in this way.

Here’s an example of a fortune teller from Magic Time 2, Unit 5, Teacher’s Book reproducible by Oxford University Press.  Once you understand how this fortune teller works, your students can create their own.  This unit focuses on toys with the phrase “I have a _________.”   They can expand it to “You have a ________.”

Download a free Fortune Teller template taken from Magic Time Teacher’s Book 2.

3.   Copy one sheet per student.  Students cut out on the dotted lines to create a square.

a.  To begin, have students fold the paper in half.

Open and fold in half the other way.  This makes folding easier. (See below.)

DSC00096

b.  Turn paper over.  Find the middle point.  Fold the corners to this middle point.  Crease well.

DSC00101

c.   Turn the paper over again.  Fold the new corners to the middle.

DSC00100

d.  Find the numbers.  Cut up from the point up to the fold between each of the numbers (1 and 2, 3 and 4, 5 and 6, 7 and 8).

DSC00102

e.  Now fold it in half so that you can put your thumbs and pointer fingers into the four openings at the bottom.

DSC00108

f.  Bring the points together.  Then open and close the fortune teller.

DSC00104

To play the game:

A:  Asks, “Which letter?”

B:  Says (for example), “C.”

A:  Moves the fortune teller three times, and says, “A-B-C.”

A:  Shows the inside of the fortune teller, and asks, “Which number?”

DSC00106

B:  Says (for example), “4.”

A:  Moves the fortune teller four times, counting to 4.

A:  Shows the inside of the fortune teller again, and asks, “Which number?”

B:  Says (for example), “7.”

DSC00111

A:  Says, “You have a yo-yo!”

With a little creativity, you can add more language to these dialogues.  With this fortune teller, students can imagine that they’re celebrating a birthday.

A:  “Happy Birthday. This toy is for you!  It’s a yo-yo!”

B:  “Thanks a lot!”

Or they can pretend to be Santa, saying “Ho, ho, ho! Merry Christmas.  Here’s a yo-yo for you!”

To make your own fortune teller, do your folding first.  Then open it up and add numbers, pictures, words, etc.  Instead of counting or saying the ABC’s, more advanced students can spell out words.

Keep me posted . . . I’d love to see how your creativity builds upon this idea in your classroom.

Happy Teaching!

Kathy

Be My Valentine!

    Be My Valentine cover art by Shuli KoBe My Valentine cover art by Shuli Ko

Valentine’s Day is on February 14th, just a short time away! To celebrate the occasion, I wrote a song that my young learners love to sing and move to. It’s entitled “Be My Valentine.” This song helps children learn the shape and sound of the letter “V.” You might even call this song “V-V-Valentine.”

Children also explore how to make the shape of a heart with their hands, their arms, or with a partner.

The easiest way to demonstrate how to use this song is to view a video I created with my two nieces, Brooke and Shannon.

Just click HERE to see the video!

To hear and buy the studio version of the song, just click HERE on iTunes for the single, or HERE for the album (Track #4). You can also find the music on Spotify.

I hope that you and your children enjoying singing and moving to this song together, either at home or in the classroom!

Sending warm Valentine wishes,

Kathy and Chuck