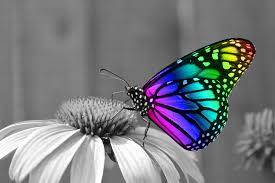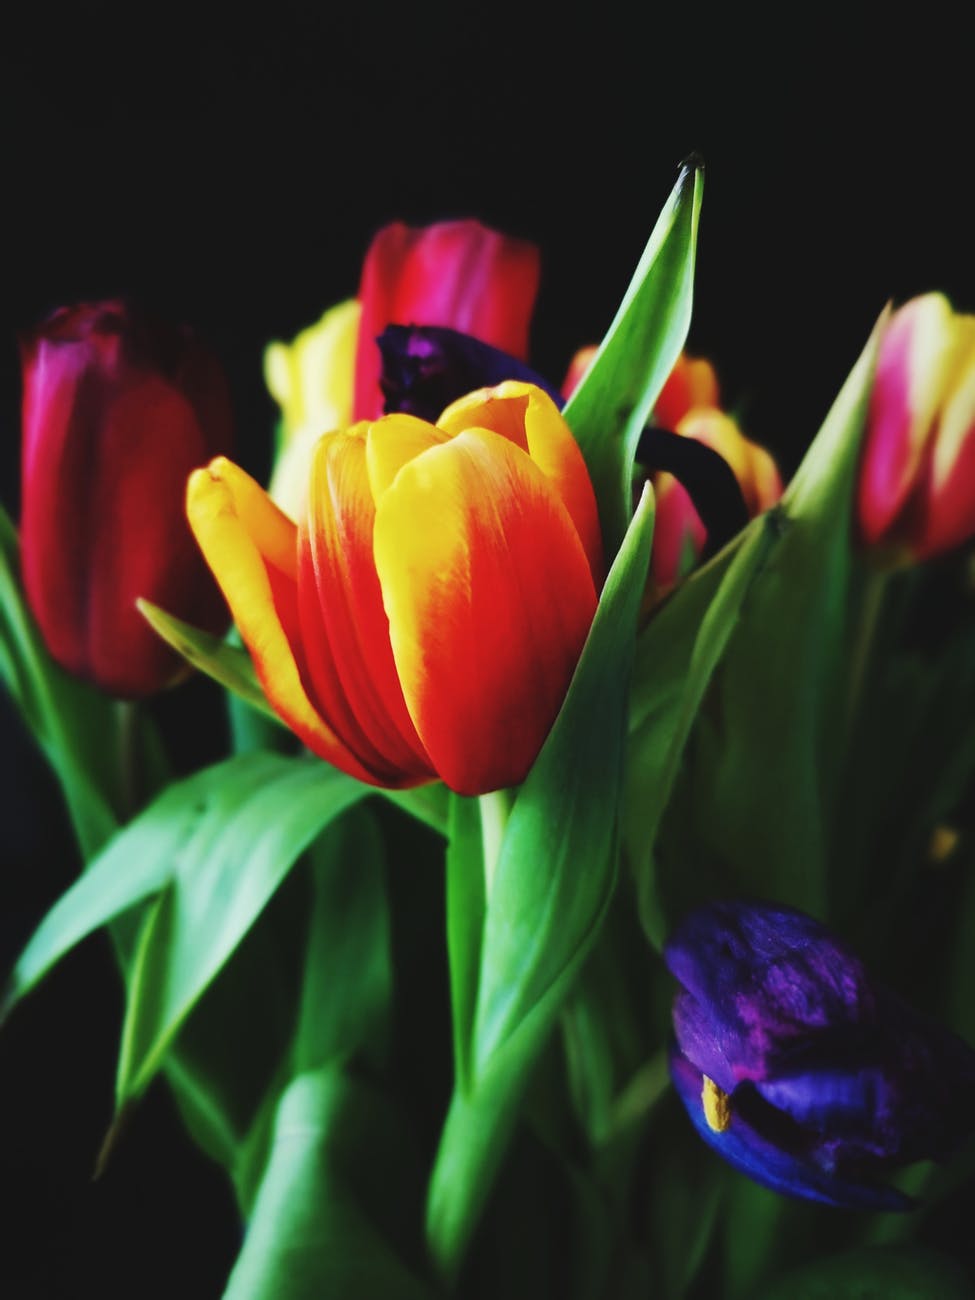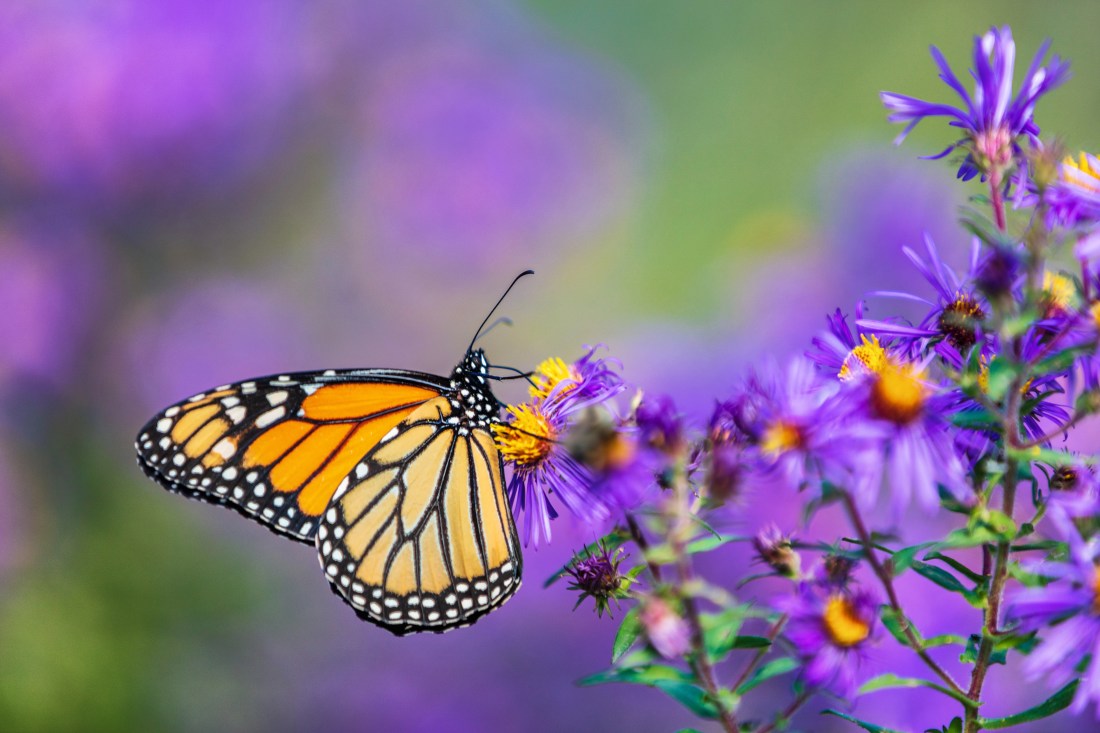
Here in Minnesota, we’ve caught a glimpse of butterflies flying in our pollinator garden. It’s wonderful to see them!
You can teach your students about the butterfly life cycle in a CLIL lesson, or Content and Language Integrated Learning. CLIL lessons link classroom content with vocabulary and grammar paradigms. We can bring the world of nature into our English lessons!

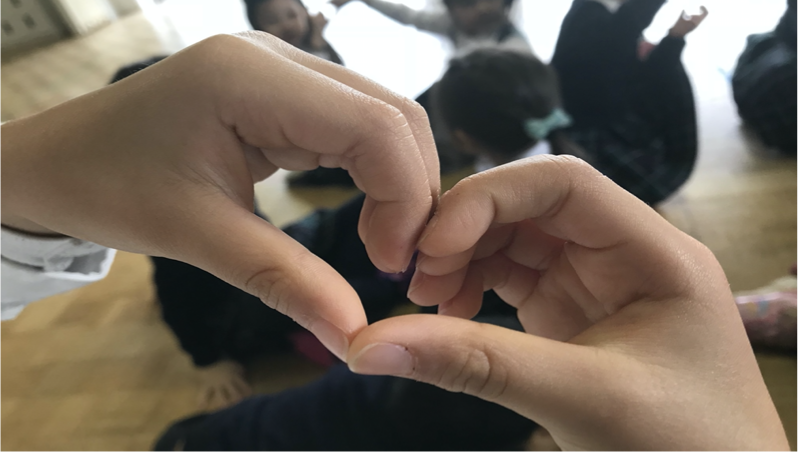
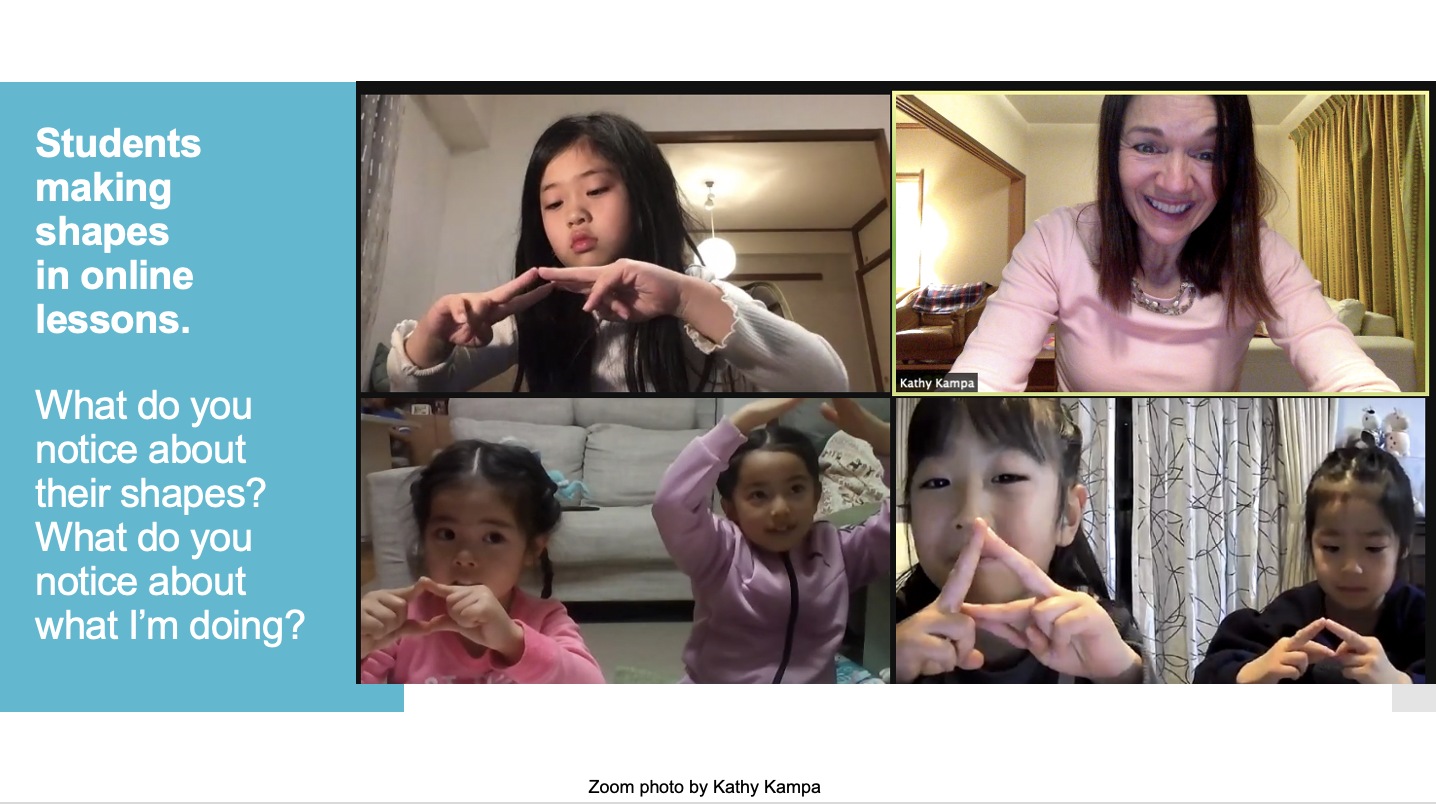
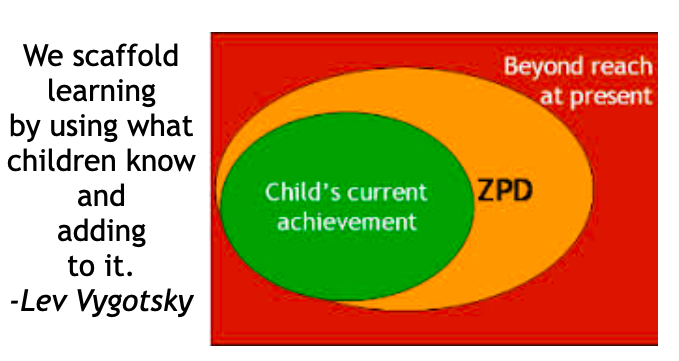
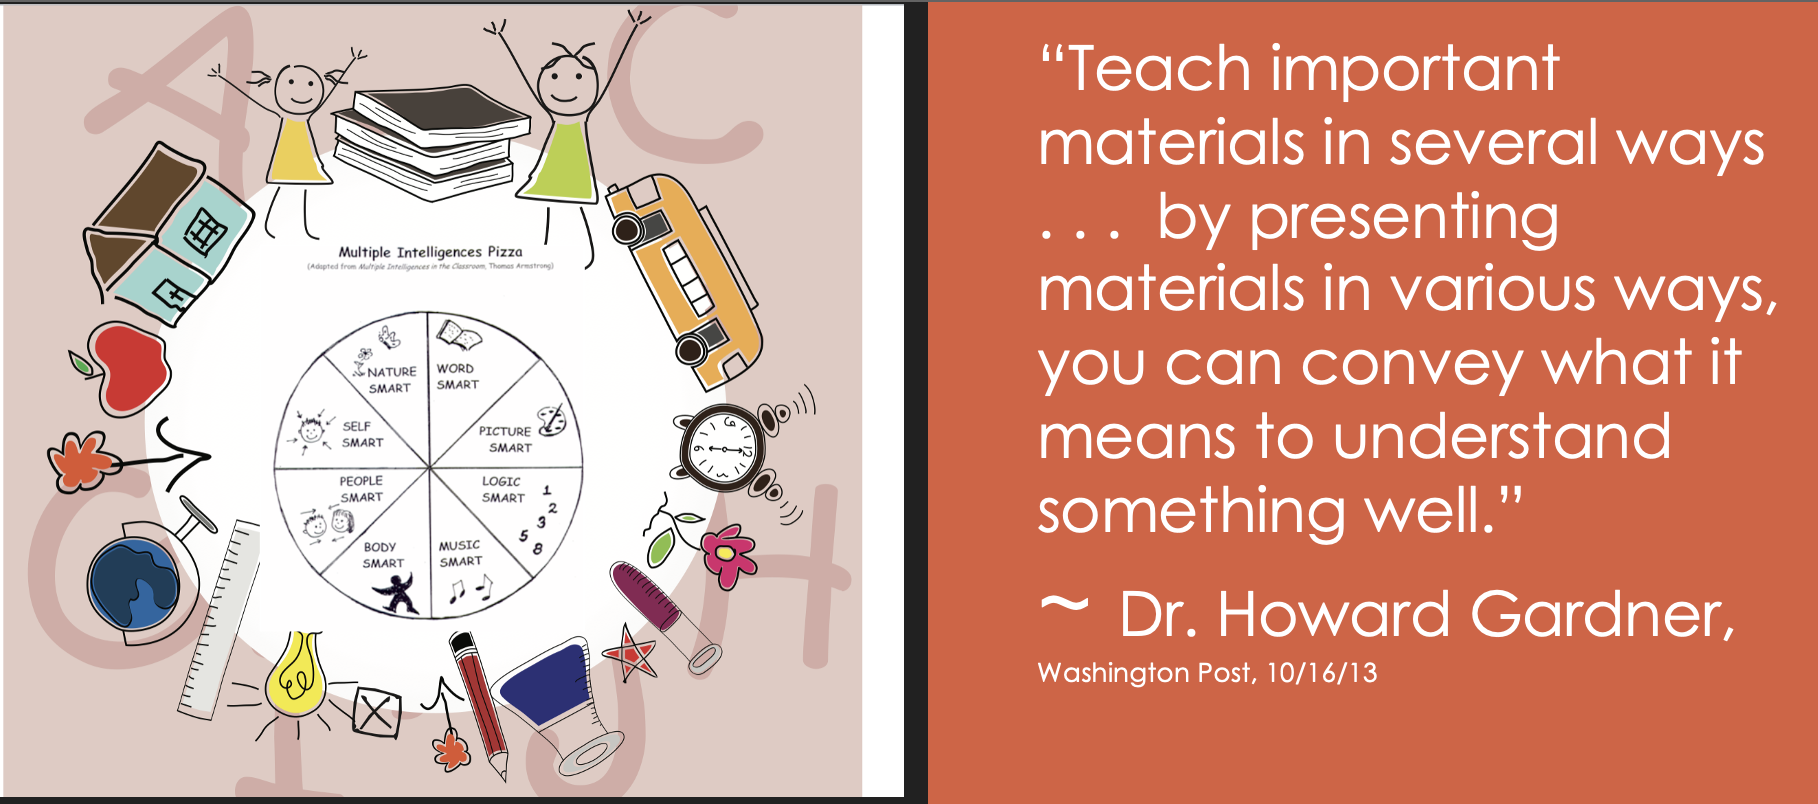
Using the theory of Multiple Intelligences, you can use many ways for your students to learn. Use words to describe the pictures or puppets. Use music and follow the pattern in the chant. Move your fingers or whole body. Invite students to work together and come up with their own ideas. Notice how each part of the life cycle changes.
In addition, if you teach want to teach conceptually, consider the concept of “change.” What changed in each part of the life cycle? (size, the way it moves, the way it looks, etc.)
Through this activity, students will:
-know the names of the butterfly life cycle
–create movements for each part, with their fingers, with whole body
–perform a chant
–recognize a life cycle
Please refer to the illustration below as we go through the steps of the lesson.
1. First, present the new language:
egg caterpillar chrysalis butterfly
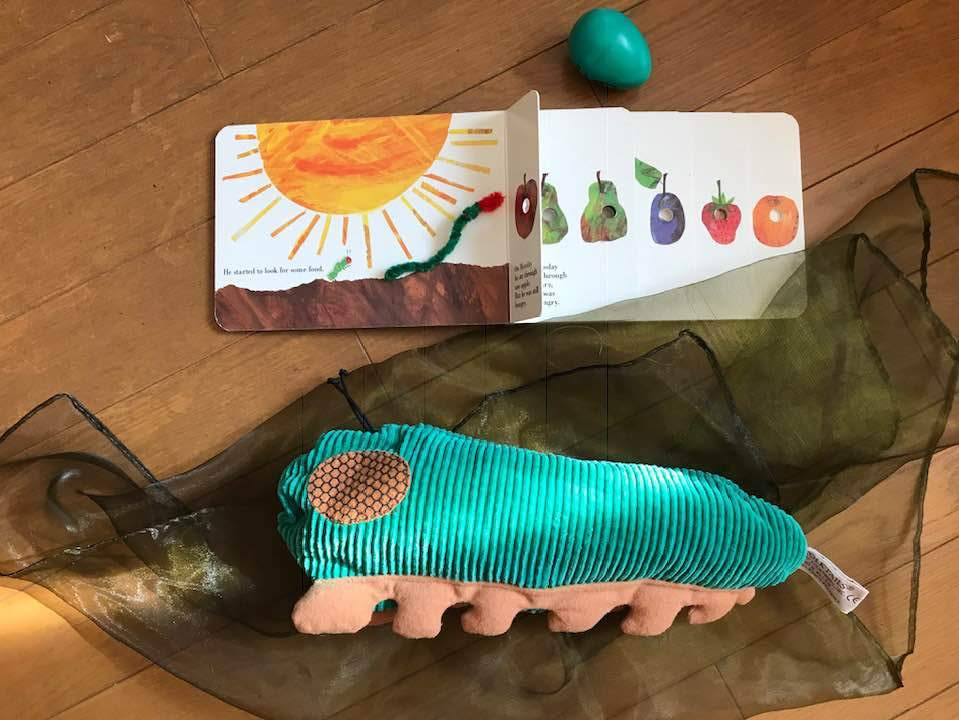
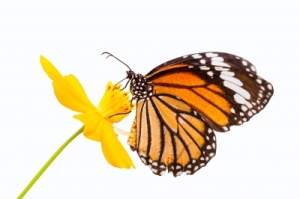
 You may introduce the language using the picture card illustrations (right), or use these Google slides to show students beautiful images of the vocabulary. It’s fun for students to find these life cycle images in the story of “The Very Hungry Caterpillar” by Eric Carle.
I often introduce the language with an egg shaker, a Folkmanis caterpillar puppet that changes into a butterfly, and a scarf (to be the chrysalis).
2. Create finger shapes for each word. The “fingerplay movements” below the illustrations will show you how, or use your imagination to create your own ideas.
3. Say the chant using the finger movements.
Tiny Egg Chant (Butterfly Life Cycle Chant)
by Kathleen Kampa © 2013
Tiny egg, tiny egg X X XX X (ch – ch- ch ch – ch)
Tiny egg, tiny egg X X XX X (ch – ch- ch ch – ch)
Tiny egg, tiny egg X X XX X (ch – ch- ch ch – ch)
1-2-3-4 LOOK!
Caterpillar, caterpillar X X XX X (ch – ch- ch ch – ch)
Caterpillar, caterpillar X X XX X (ch – ch- ch ch – ch)
Caterpillar, caterpillar X X XX X (ch – ch- ch ch – ch)
1-2-3-4 Look!
Chrysalis, chrysalis X X XX X (ch – ch- ch ch – ch) (Repeat 3 times)
1-2-3-4 Look!
Butterfly, butterfly X X XX X (ch – ch- ch ch – ch) (Repeat 3 times)
Wait . . . . Good-bye!
________________________ ____________________
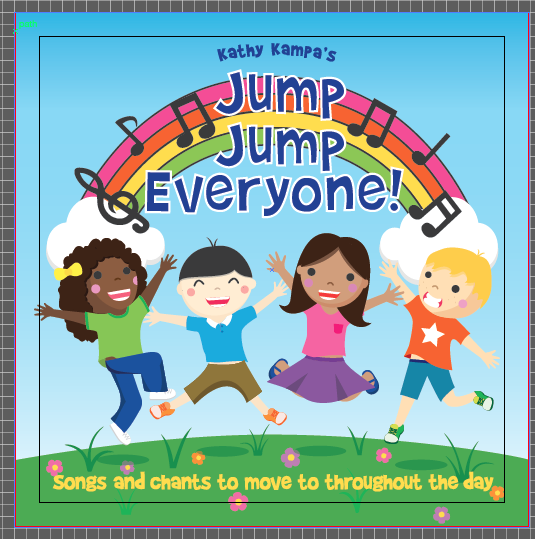
Here is a simple recording of the chant that you can use:
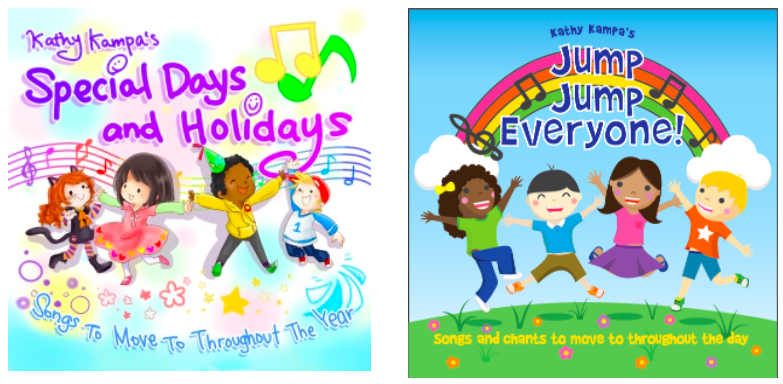
The professional recording can be found on Jump Jump Everyone.
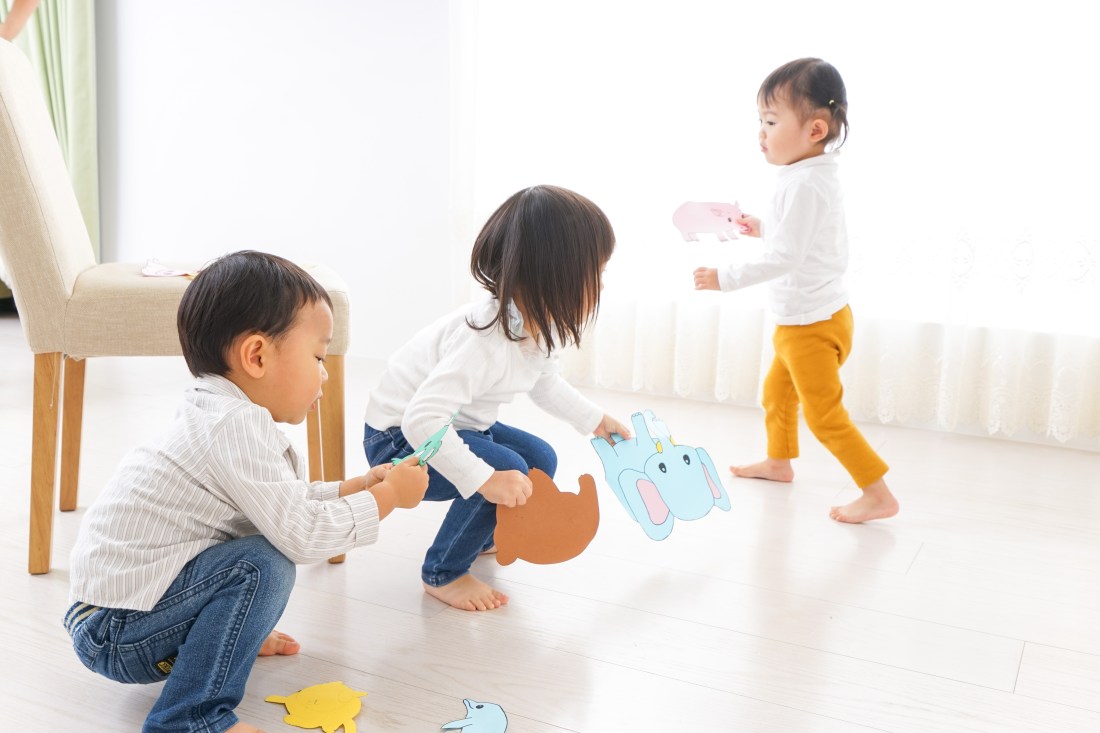
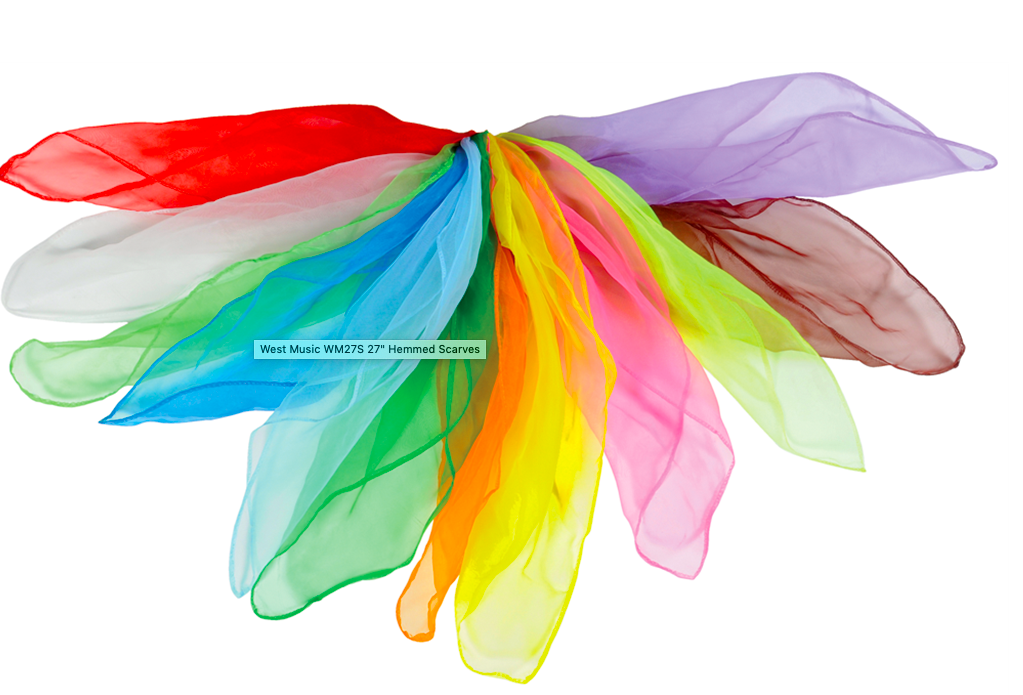
4. Finally, you can expand the activity by having students move to the chant using their whole body. Students can curl up to make tiny egg shapes, then wiggle about on their tummies as caterpillars. They can balance on one foot in a chrysalis shape. While students are balancing quietly, give each student one or two colorful scarves for butterfly wings. Your students might enjoy moving around the room like butterflies. I often play “Aviary” by Camille Saint-Saëns, or the Japanese song “Cho Cho.” I’ve also written a song called “Flitter Flutter Butterfly” that connects nicely with this.
Video: Here are my young learners in Tokyo doing this chant with me.
______________________________________________________________
Through the power of CLIL, students have now experienced the life cycle of a butterfly in a meaningful, memorable way. They have embodied the vocabulary and will happily repeat this activity in future lessons.
You can transfer the idea of the butterfly life cycle to other animal life cycles, such as the frog life cycle. How does the frog change? How is this similar to the butterfly life cycle?
Let us know how this activity works in your classroom, and if you discovered any new ways to teach it!
Here’s a beautiful visual of the gradual transformation. According to The Butterfly Lady, “When the Monarch caterpillar is ready to pupate it will spin a silk button, attach itself, and hang head-down in a “J” shape. The caterpillar will stay like this for around 24 hours. Shortly before the caterpillar is ready to shed their larval skin, it will straighten and the antennae will become ragged. The caterpillar wiggles to discard the skin and reveals the pupa (chrysalis).”

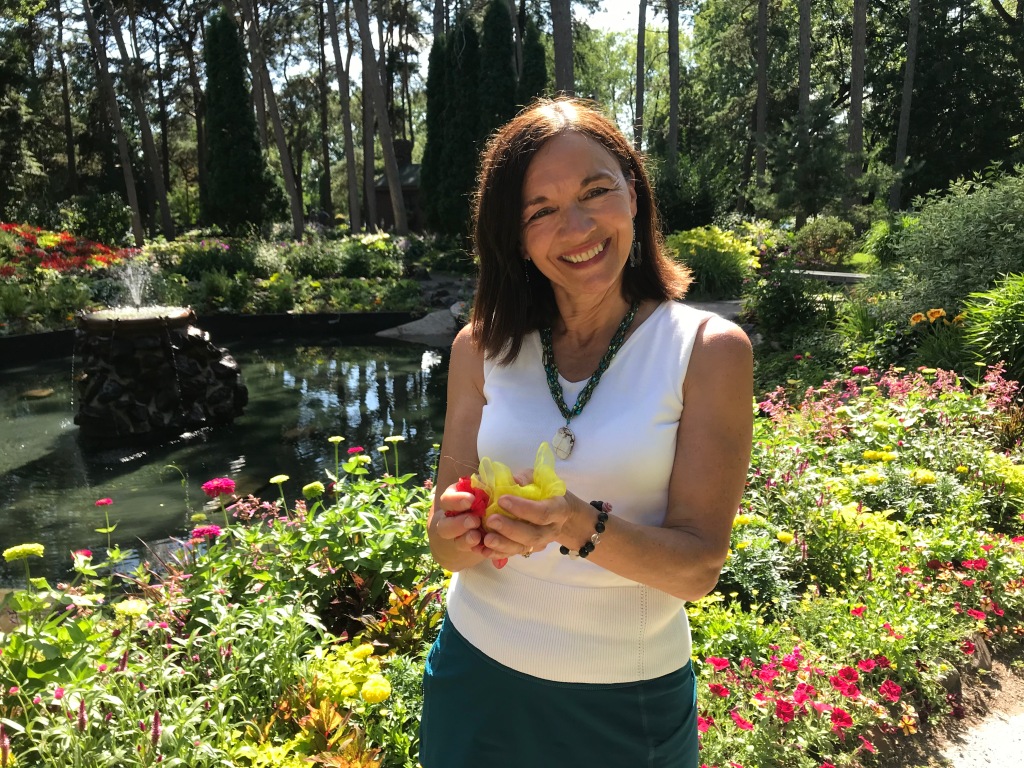
Happy Teaching!
Kathy
Are you streaming music? Go to Spotify or Apple Music to find my music. You’ll find “Tiny Egg” and “Flitter Flutter Butterfly” on “Jump Jump Everyone.”

Jump Jump Everyone, my second album, is filled with many happy songs that have grown in my young learner classroom. The songs encourage children to move. Many songs link to classroom content. Children can dance like falling leaves, bloom like a spring flower, move through the butterfly life cycle . . . . you’ll find LOTS of fun and magic in this album.
Kathy Kampa loves to bring joy to the world through her children’s music. She is passionate about making learning engaging for young learners. You’ll find more resources on Kathy’s YouTube page.


 Jump Jump Everyone, my second album, is filled with many happy songs that have grown in my young learner classroom. The songs encourage children to move. Many songs link to classroom content. Children can dance like falling leaves, bloom like a spring flower, move through the butterfly life cycle . . . . you’ll find LOTS of fun and magic in this album.


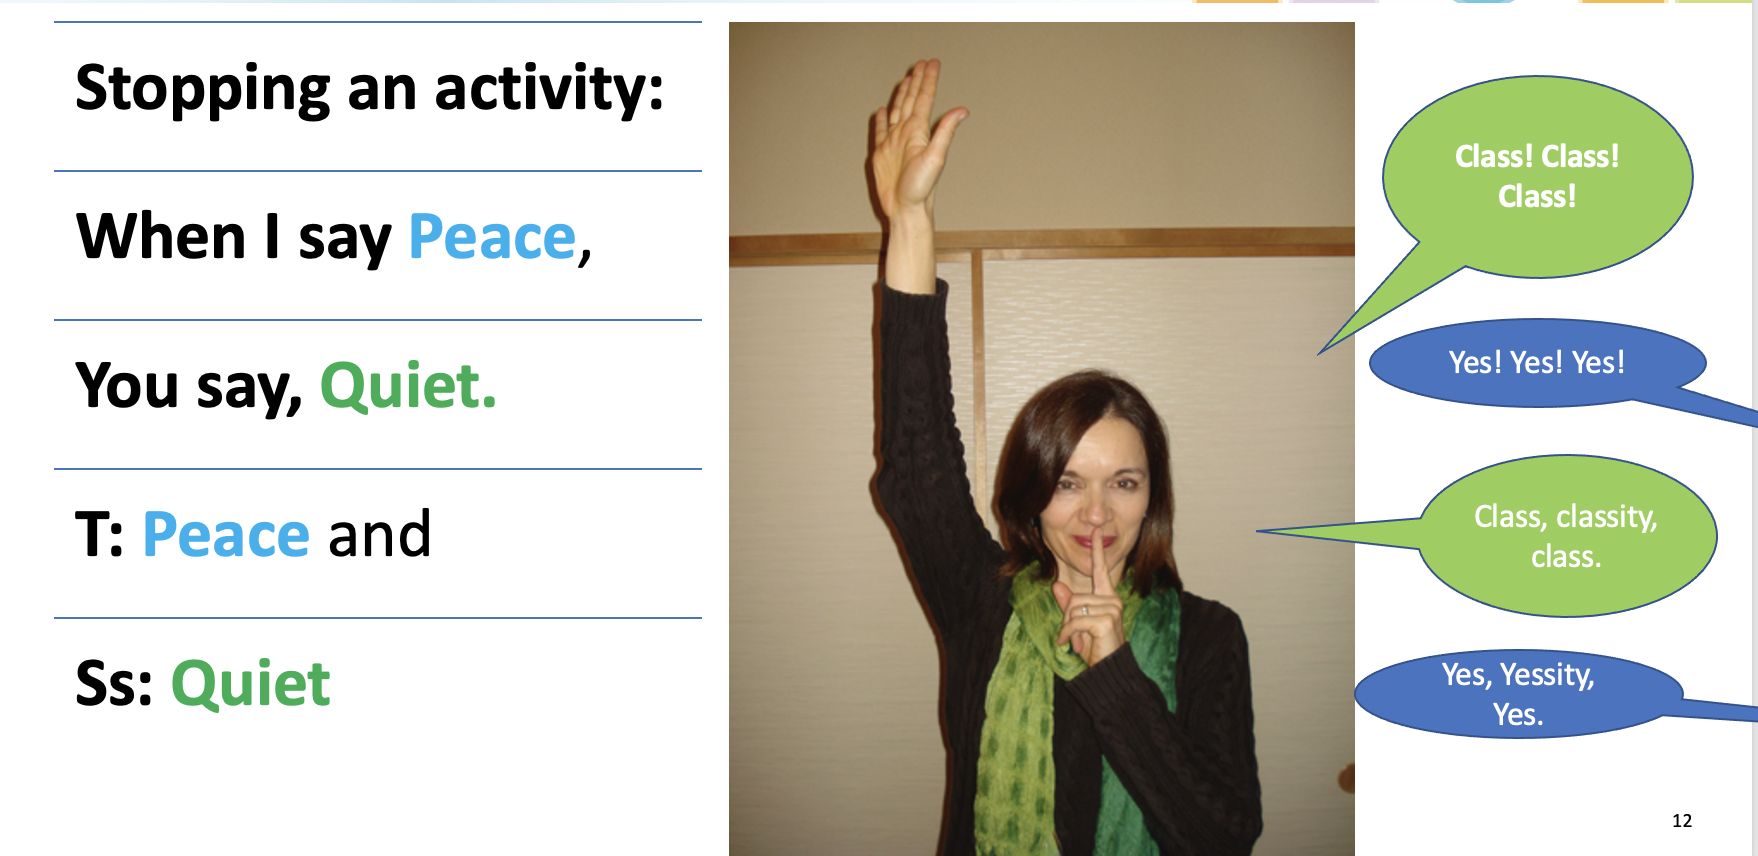
 What do you have readily available in your classroom? A slide whistle is one of the most interesting sounds I have in my classroom. If you have a big group of students, it quickly gets their attention. Don’t have a slide whistle? How about a shaker, a tambourine, or a kazoo?