It’s time to celebrate the Chinese New Year! We welcome the year of the tiger.
Let’s learn a song to celebrate! We’ll learn parts of the song first by making simple movements. Then we’ll put them together.
How can we move like a tiger standing in our space?
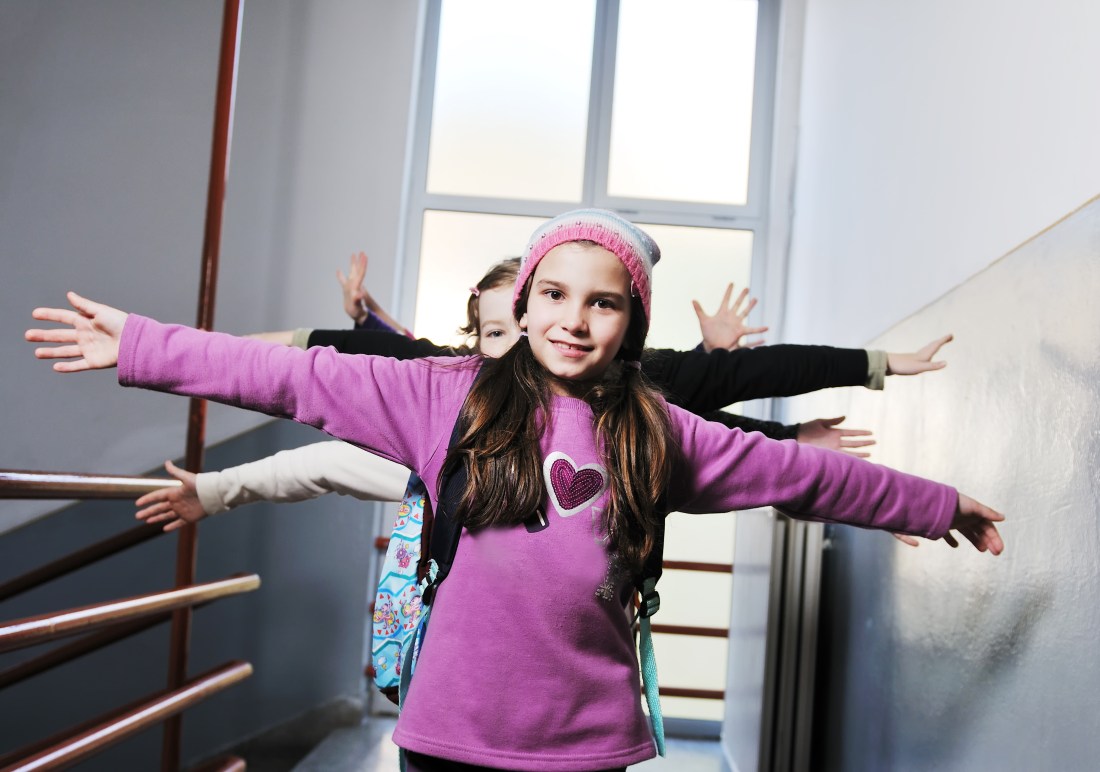
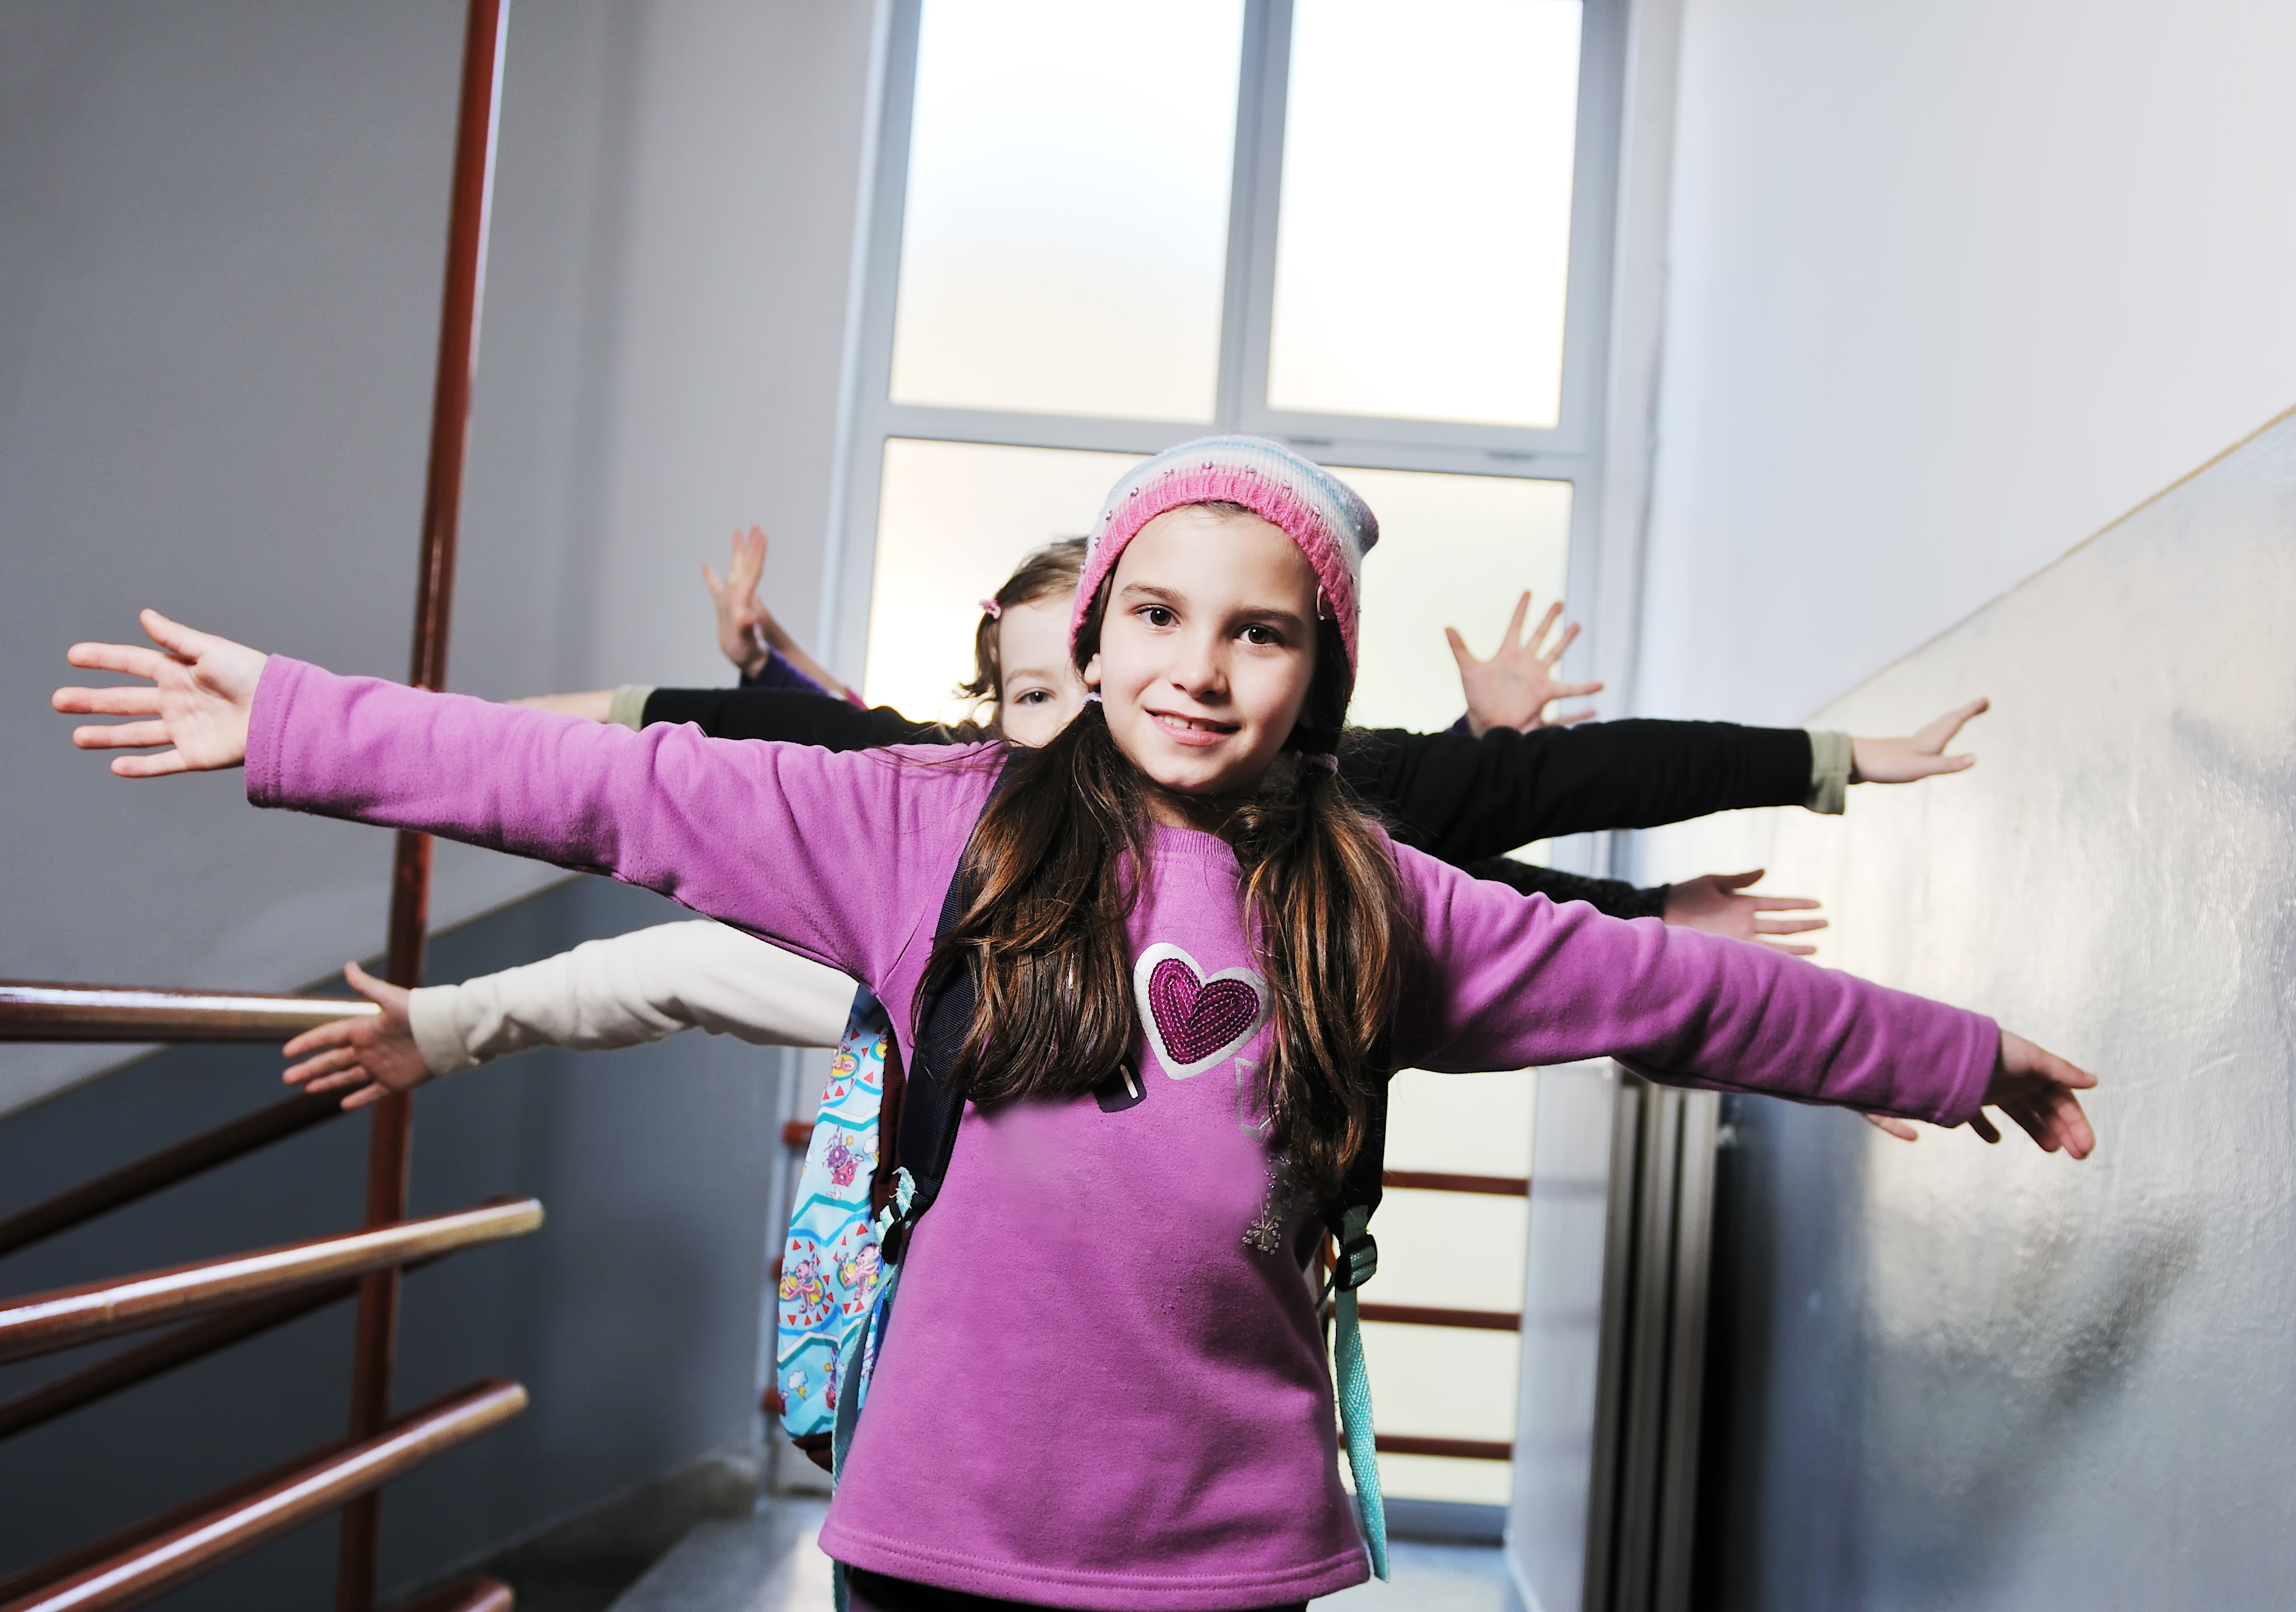
Make a movement while we say ti-ger. You could move your hands like paws. Change your expression
2. How can you show two thousand twenty-two or twenty twenty-two using your fingers? You could draw numbers in the air, or hold up your fingers (2-0-2-2).
3. Last of all, let’s spell the word tiger. How can you make each letter using your fingers? Try making the letters with your arms or even your whole body. Which way do you like to make these letters the best? If you’re making letters, take time to make them.
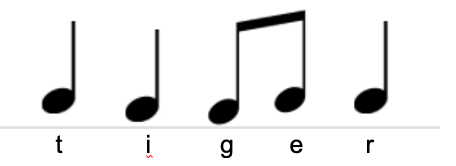
Or you can clap, pat, stamp, or snap the rhythm when you spell tiger. This rhythm repeats three times, so you could choose a different type of sound each time.
It’s the Year of the Tigerby Kathy Kampa
Part 1: (melody: For He’s a Jolly Good Fellow) It’s the year of the tiger. It’s the year of the tiger. It’s the year of tiger. It’s 2022!
Part 2: (melody: BINGO) t-i-g-e-r, t-i-g-e-r, t-i-g-e-r, It’s the year of the tiger!
Here’s a video of my Zoom Magic Time English class. We always do music and movement during our class. Together, we created these movements. These students really enjoyed making the letter shapes. You can find videos from my classes and specially prepared videos on my YouTube Channel (Kathy Kampa).
My online Magic Time class singing It’s the Year of the Tiger
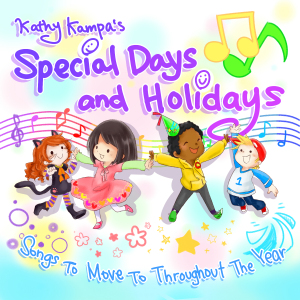
I change this song annually, so you won’t find it on my CDs. I create a new version for you each year! You can, however, find my lively song “Happy New Year” on Kathy Kampa’s Special Days and Holidays (available on iTunes).
Check out my music as a download on iTunes or order a CD complete with lyrics.
The songs on Kathy Kampa’s Special Days and Holidays celebrate various special moments throughout the year–the New Year, Valentine’s Day, Girls’ Day, Easter, Halloween, Thanksgiving, Christmas, plus birthdays and a loose tooth!
Students love to make letter shapes with their bodies.
Learning the names of the days of the week in English can be tricky. For many of us, we teach our English class on the same day each week. This song “What Day Is It?” is a fun way to practice the days of the week.
First of all, write a letter on the board or show a picture card. Model making that letter with your fingers, arms, or whole body. Make the letter so that students are able to read it. You might imagine how that letter would look when you write it on your whiteboard. Students will be able to “read” your letter. Invite students to make letters with you. They might even make letters with the entire class! Try making letters in many different ways.
We started at the beginning of the alphabet. Students made A, a, and B, b (see B below). In Magic Time (Oxford University Press) students have fun making letter shapes to learn the letter name and its sound.
Now write the names of the days of the week. Run your finger under the word as you say it (Sunday). Point out the first letter. Encourage students to make that letter with their bodies in several ways. Remind students that days of the week begin with capital letters. As you can see, sometimes the letters appear flipped around to us. The important idea is that students are making the letter shapes.
I love to catch my students making their amazing letters by taking photos. Remember CCBA (Catch Children Being Amazing!)
Pass out the “days of the week” cards, one to each student. Students line up in order around the circle starting with Sunday. Students make the initial letter shape as they sing each day of the week. When they sing “Tra la la la la” add a group movement, such as pat your knees, clap your own hands, clap your “neighbor’s” hands.
Happy New Year! All around the globe the new year is celebrated in different ways. Here in Japan people celebrate o-shogatsu, the new year, with many special traditions. One of the important traditions seen all over the country is the celebration of the new animal for the year. This year it is the year of the sheep. Perhaps you’re familiar with the Chinese calendar of twelve different animals.
At our first class this week, we’ll begin by wishing everyone a Happy New Year 2015, the year of the sheep. I wrote a simple song to teach the year and how to spell the word “sheep.” We had fun creating a recording for you at home with our son Christian.
It’s The Year
lyrics by Kathleen Kampa Vilina, melody (For He’s a Jolly Good Fellow/ BINGO)
sung by Christian Vilina
Intro:
Baa, baa, black sheep,
Have you any wool?
Yes, sir, yes, sir.
Three bags full.
It’s the year of the sheep.
It’s the year of the sheep.
It’s the year of the sheep.
It’s 2015!
s-h-e-e-p, s-h-e-e-p, s-h-e-e-p,
It’s the year of the sheep.
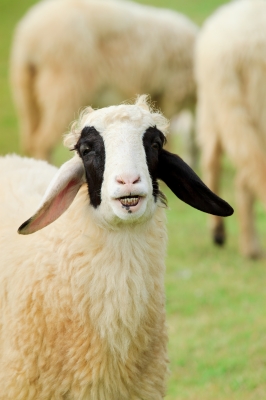
1. Show students the picture of a sheep.
Image courtesy of TCJ2020 at FreeDigitalPhotos.net
When they sing the word “sheep” they can make a pose like a sheep or point to the picture. If you have lively students, they might enjoy skipping or galloping during this part of the song instead.
2. On the words, “It’s 2015,” students stop moving and make the numbers 2015 with their fingers. Very young students can stop and wave their arms in the air as if saying “Hooray!”
3. Write the letters for the word “sheep” on the board. Clap the rhythm below to accompany the letters. (slow, slow, quick quick, slow)
To make it more challenging, students can pat, stamp, or snap the rhythm. My students like to clap the first time they spell “sheep,” then they pat their legs, and finally they stamp their feet. If you have instruments in your classroom, you can play this part.
4. The song ends with “It’s the year of the sheep!” Students make the sheep pose, or point to the picture.
———————————————————————————————————————-
You can also celebrate the New Year with our song, “Happy New Year!” I wrote it with our son Christian, and it is always a hit with our students. You can find it on Kathy Kampa’s Special Days and Holidays. The lyrics are easy for students to follow.
Students like to pat their legs, then clap their hands to the beat.
On the last Happy New Year, they turn around and wave their hands.
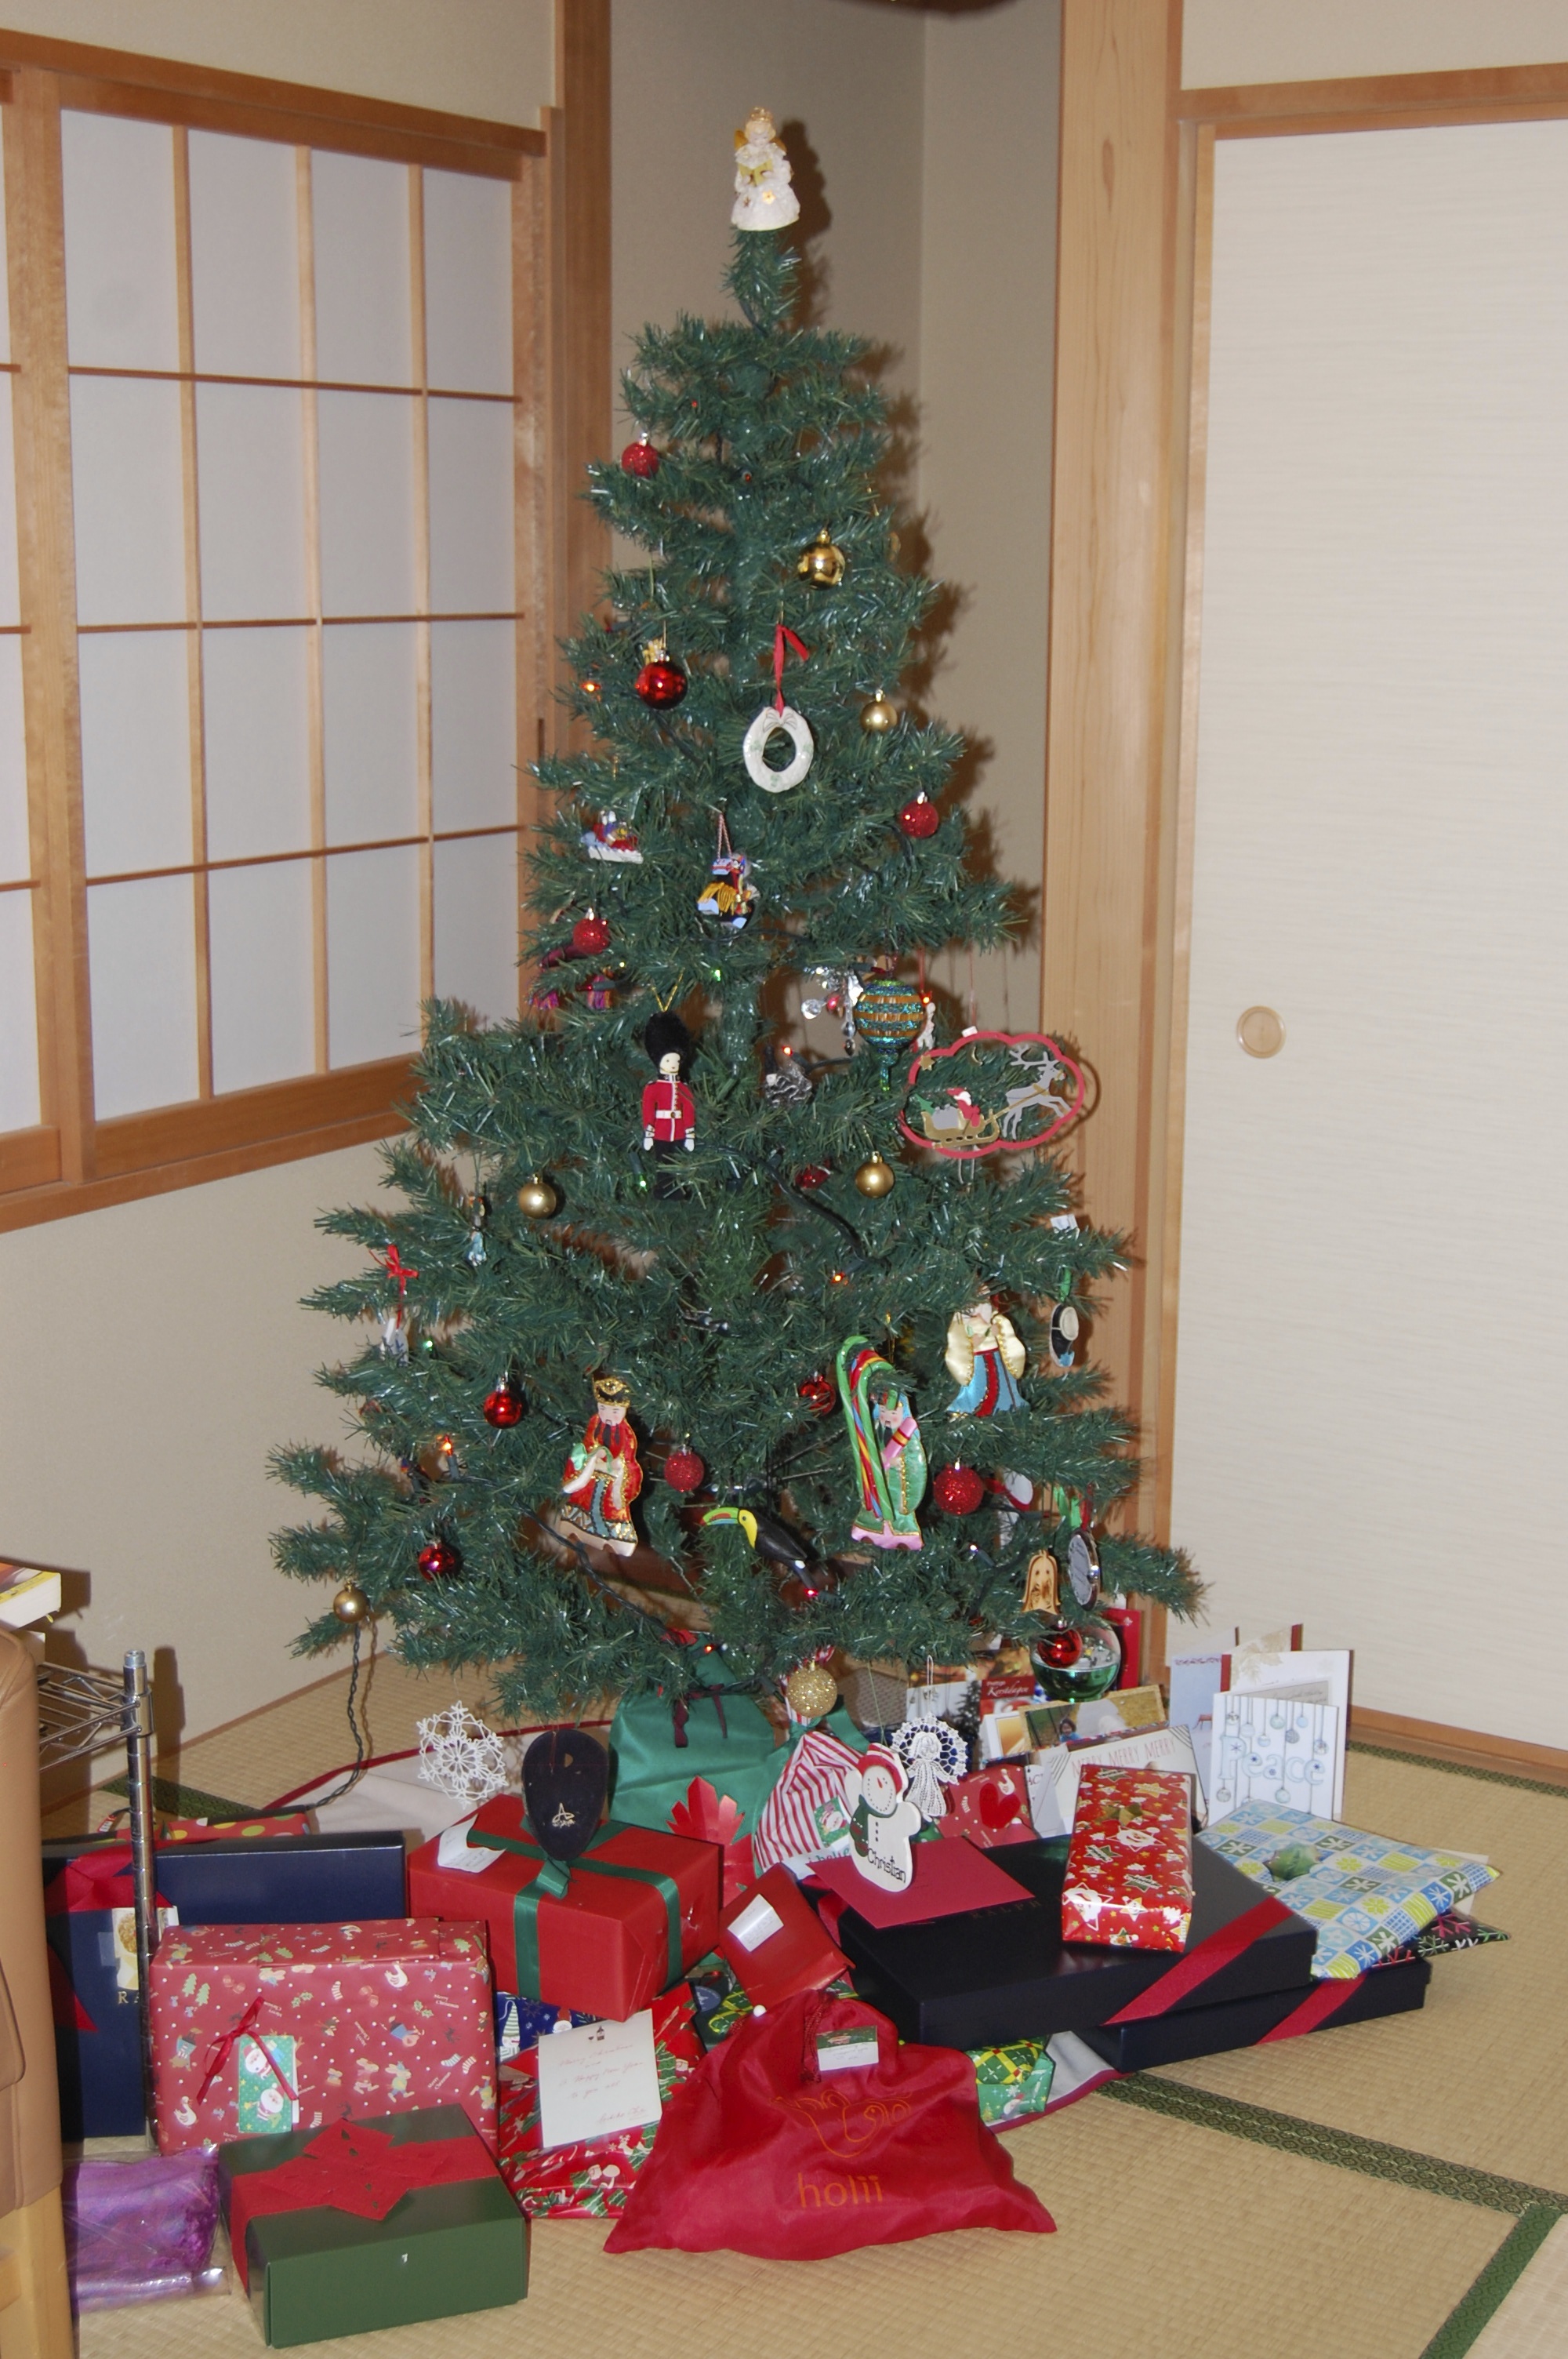
Our Christmas tree here in Japan with ornaments from around the world
Do you celebrate Christmas? For us, it’s a time to sing songs about Santa Claus, reindeer, Christmas trees, jingle bells, gingerbread cookies, and the birth of Jesus. It’s a time to bake special cookies, too.
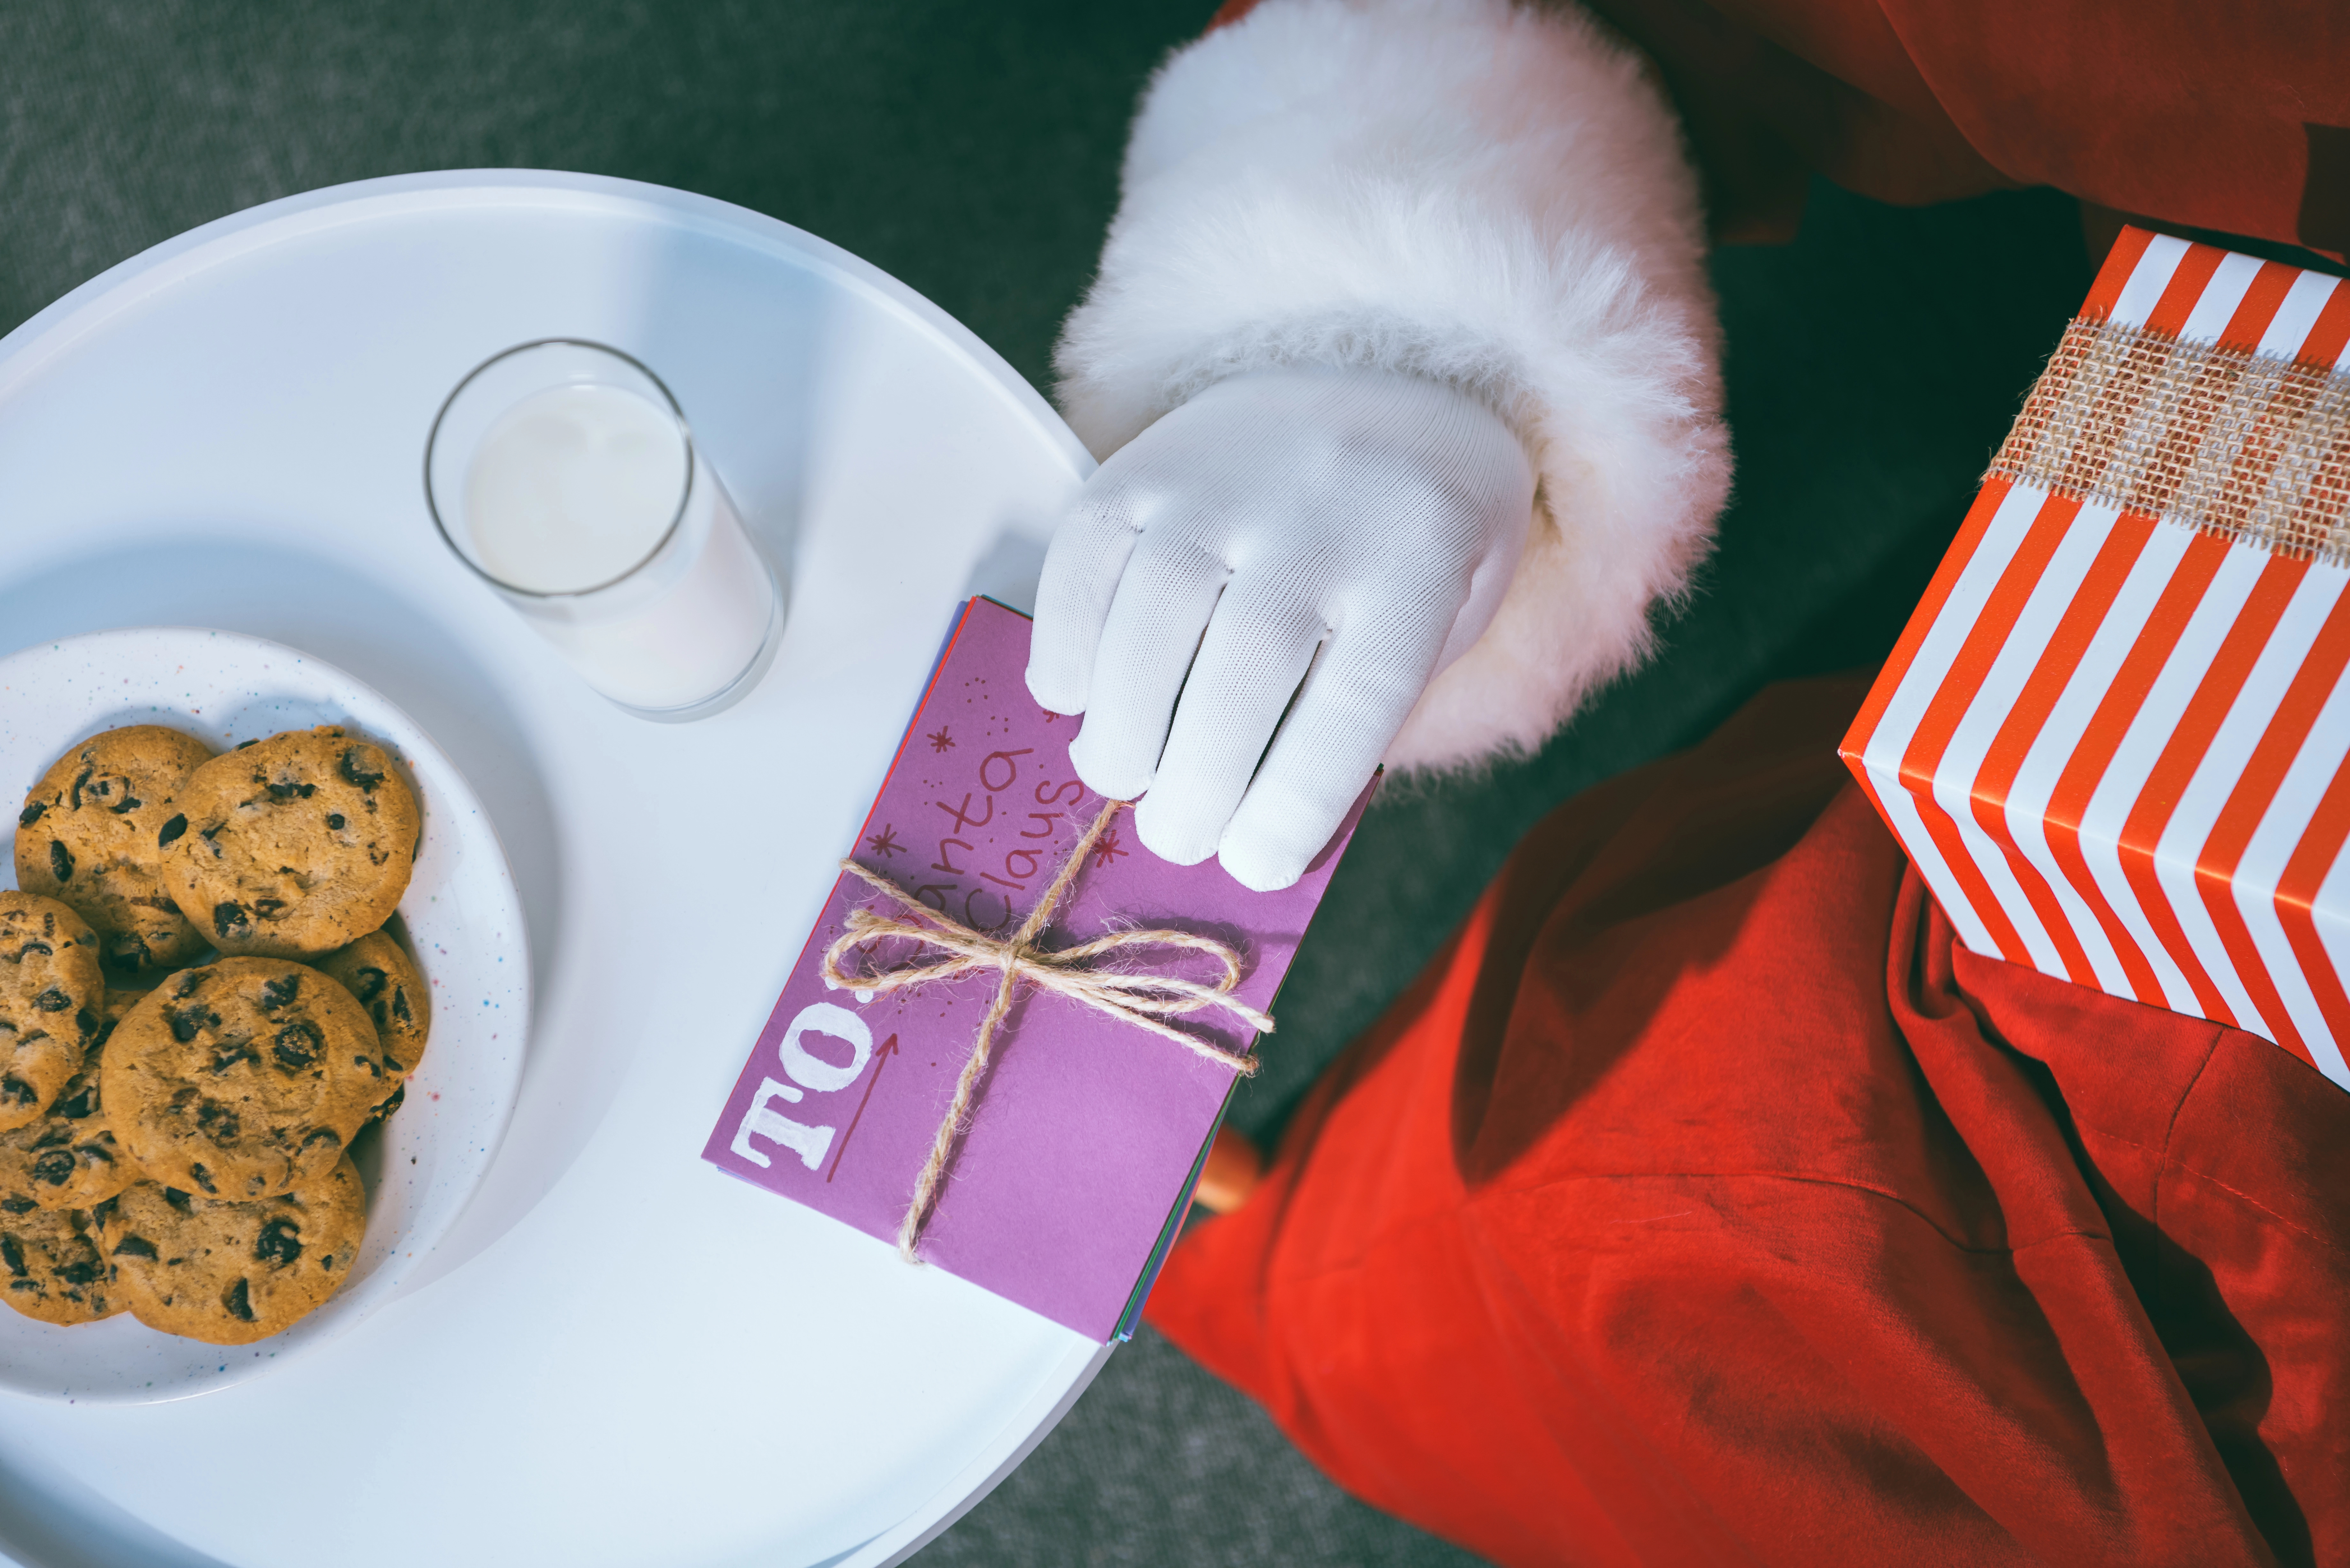
Even though our two sons are adults, we still enjoy many of the traditions they knew as children. Our Christmas Eve celebrations include a festive dinner, opening gifts by the Christmas tree, and singing Christmas carols. When the evening draws to a close, we put out a plate of homemade cookies and a glass of milk for Santa Claus. A note is written for Santa, and the next morning, a reply from Santa is waiting for us!
Cookies and milk left for Santa
I wrote this simple song to the melody of Twinkle, Twinkle Little Star to remember this special moment in our lives. The lyrics were written with EFL and ESL students in mind.
You can sing it on your own, but here’s a complimentary music track from my CD entitled Kathy Kampa’s Special Days and Holidays.
Santa’s Cookies and MilkWords by Kathleen Kampa and Charles Vilina
Spoken: Dear Santa, Welcome to my house.I’ve been very good this year.
Have some cookies. (gesture with one hand to the side)
Have some milk. (gesture with the other hand)
Christmas cookies and a glass of milk. (Shake hands like twinkling Christmas stars. You can make it fancier by moving your hands in big circles from above your head to your sides.)
Eat the cookies. 1-2-3 (gesture eating cookies, then fingers 1-2-3)
Drink the milk. It’s from me. (gesture drinking milk, then point to self)
Have some cookies. (gesture with one hand to the side)
Have some milk. (gesture with the other hand)
Christmas cookies and a glass of milk. (Shake hands like twinkling Christmas stars. )
Spoken: Thanks Santa! Have a good night! Good-bye!
Check out this cute idea for a cookie holder! Invite students to decorate the plate before folding it up. Be sure to show students a model of the folded one so that they know where they can draw. Turn the plate upside down on a clean surface to add drawings. Cut on the lines, too, before drawing. Remember that the drawings will be on the bottom of the plate. Decorate with red ribbon and a little bell for Christmas. Wishing you all the best for Christmas and throughout the year from our family to yours. May the magic of Christmas remain in your hearts.
Chuck, Christian, Kathy, and John on Christmas Eve 2013
Image courtesy of varandah / FreeDigitalPhotos.net
For many teachers around the world, this is the time of year when students perform holiday songs at school. For me, I’m busily preparing my students for a performance, too. What are some things you do to prepare for this event?
Choose a song that students are able to perform. Look at the vocabulary. Check out the grammar structures. Is there enough repetition for young learners? Does the melody stay within a comfortable singing range?
Now let your students listen to a few different songs that fit these requirements. Which one do they like best?
To teach a song, I make sure that my students understand the background and the vocabulary first. I use visual images when possible. Creating a rebus reading with pictures and sight words is an easy way to begin learning a song.
Next, I add simple movements to help students remember the words. Young learners are especially successful with this approach. If you are new to using movement with your students, you may need to show them some movements first.
*To build creativity, ask students for their ideas for movement. For example, in the song “It’s Christmas Time,” students have words for senses, such as hear, see, smell. I show them a picture, and ask all of my students to share an idea of how they might show these words. Then we look at the nouns, such as jingle bells, Christmas tree, and gingerbread. Can we make a pose or movement? I might say, “A few people, like Kenji and Yuta, are moving like this. Let’s try it.” Students are so proud when we choose their movement.
I often have a “slow” practice by saying the words and doing the movements. Students stand on “double dots”– a place where they will stand and sing. I use two of the same colored dots or colored tape. I write down where each child will stand.
Then we speed things up with the music and the movements. I stand in front of my students and lead them in singing and moving. Model enthusiasm!
Finally, we take turns. Half of the students perform while the other half becomes the audience — their mommies and daddies. The audience practices clapping. The singers practice bowing at the end. (Bend over: I see my shoes. Stand up: I see my mom and dad.)
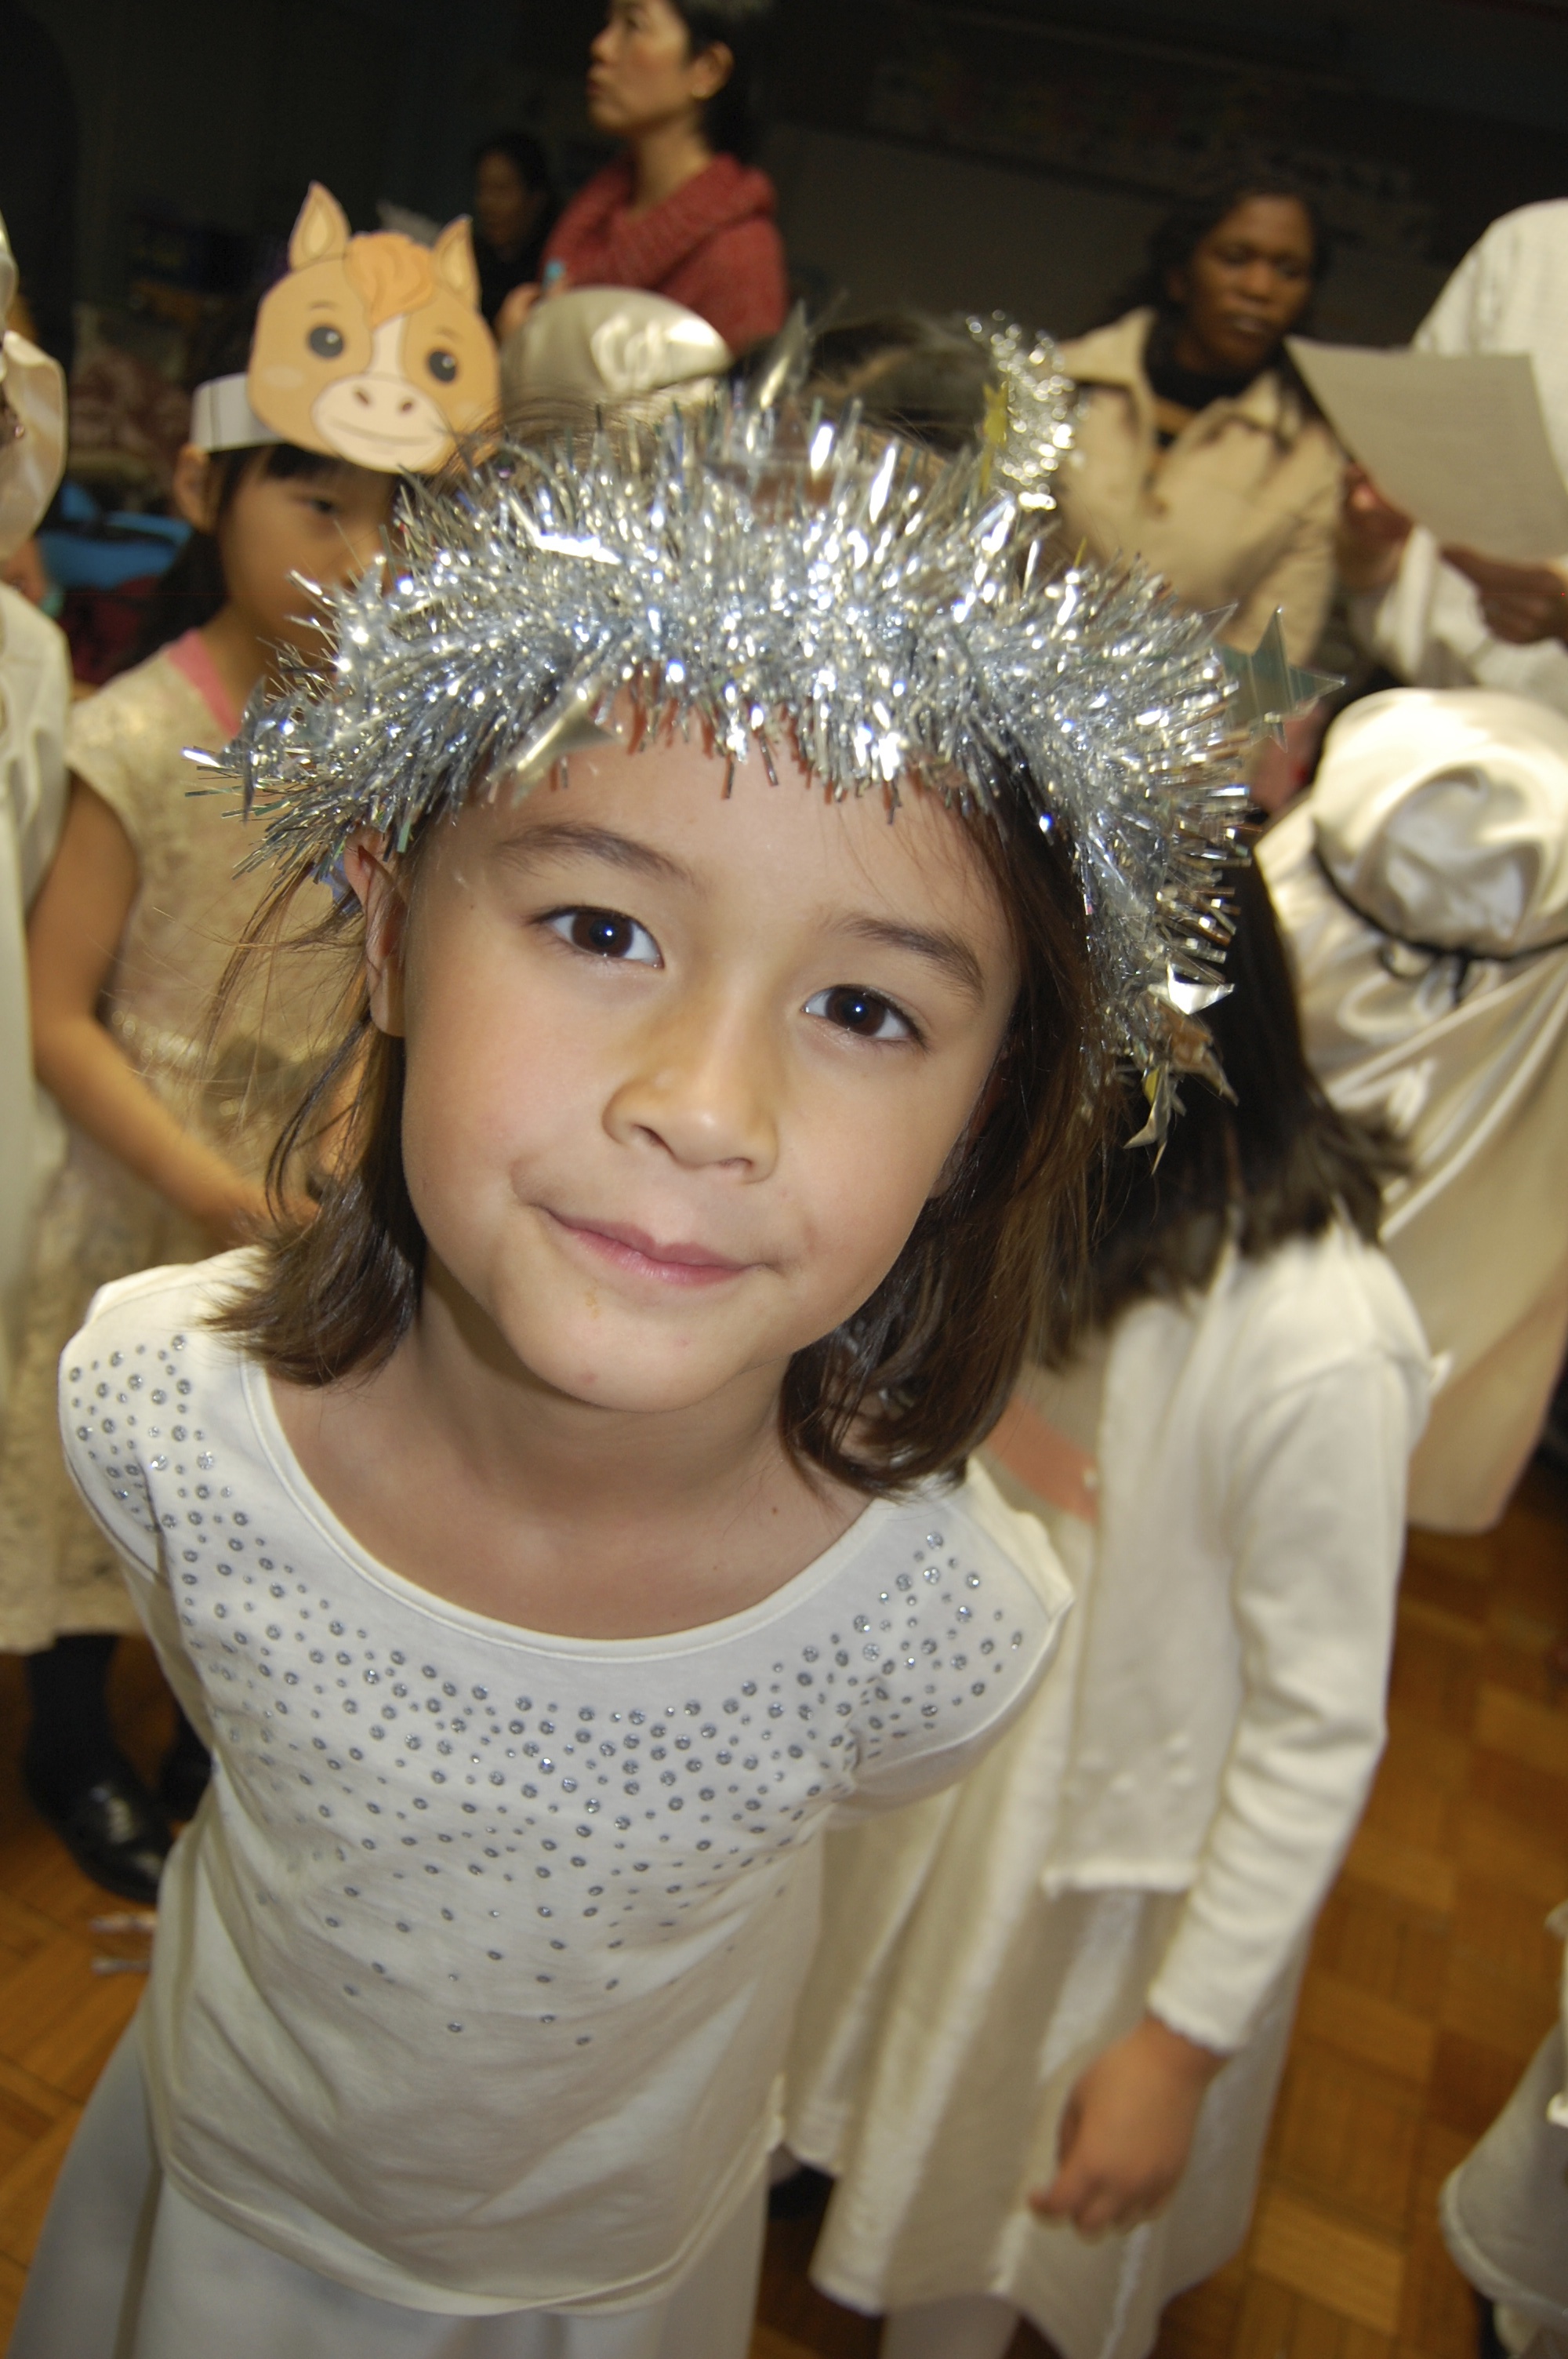
Throughout this time, you must be thinking about simple costumes that will make your song come alive. Asking students to come dressed in one solid color makes it easy to add things like a small picture hung on a ribbon around their necks, or a string of sparkly garland on their heads. If your students are getting dressed in costumes at school, make sure that everything is labeled with each child’s name.
Now have a dress rehearsal. Here’s where I bring out a bunch of stuffed animals and put them on chairs. Practice introductions. Take a video and show the students. Make sure that the costumes work.
Prepare a simple program. Our students often prepare their own art for the cover.
Check to make sure everything is ready — music, chairs, instruments, programs, microphone, etc.
Now it’s show time! Make sure that each child goes to the restroom beforehand. Give parents time to take photos and keep students calm. Enjoy the moment!
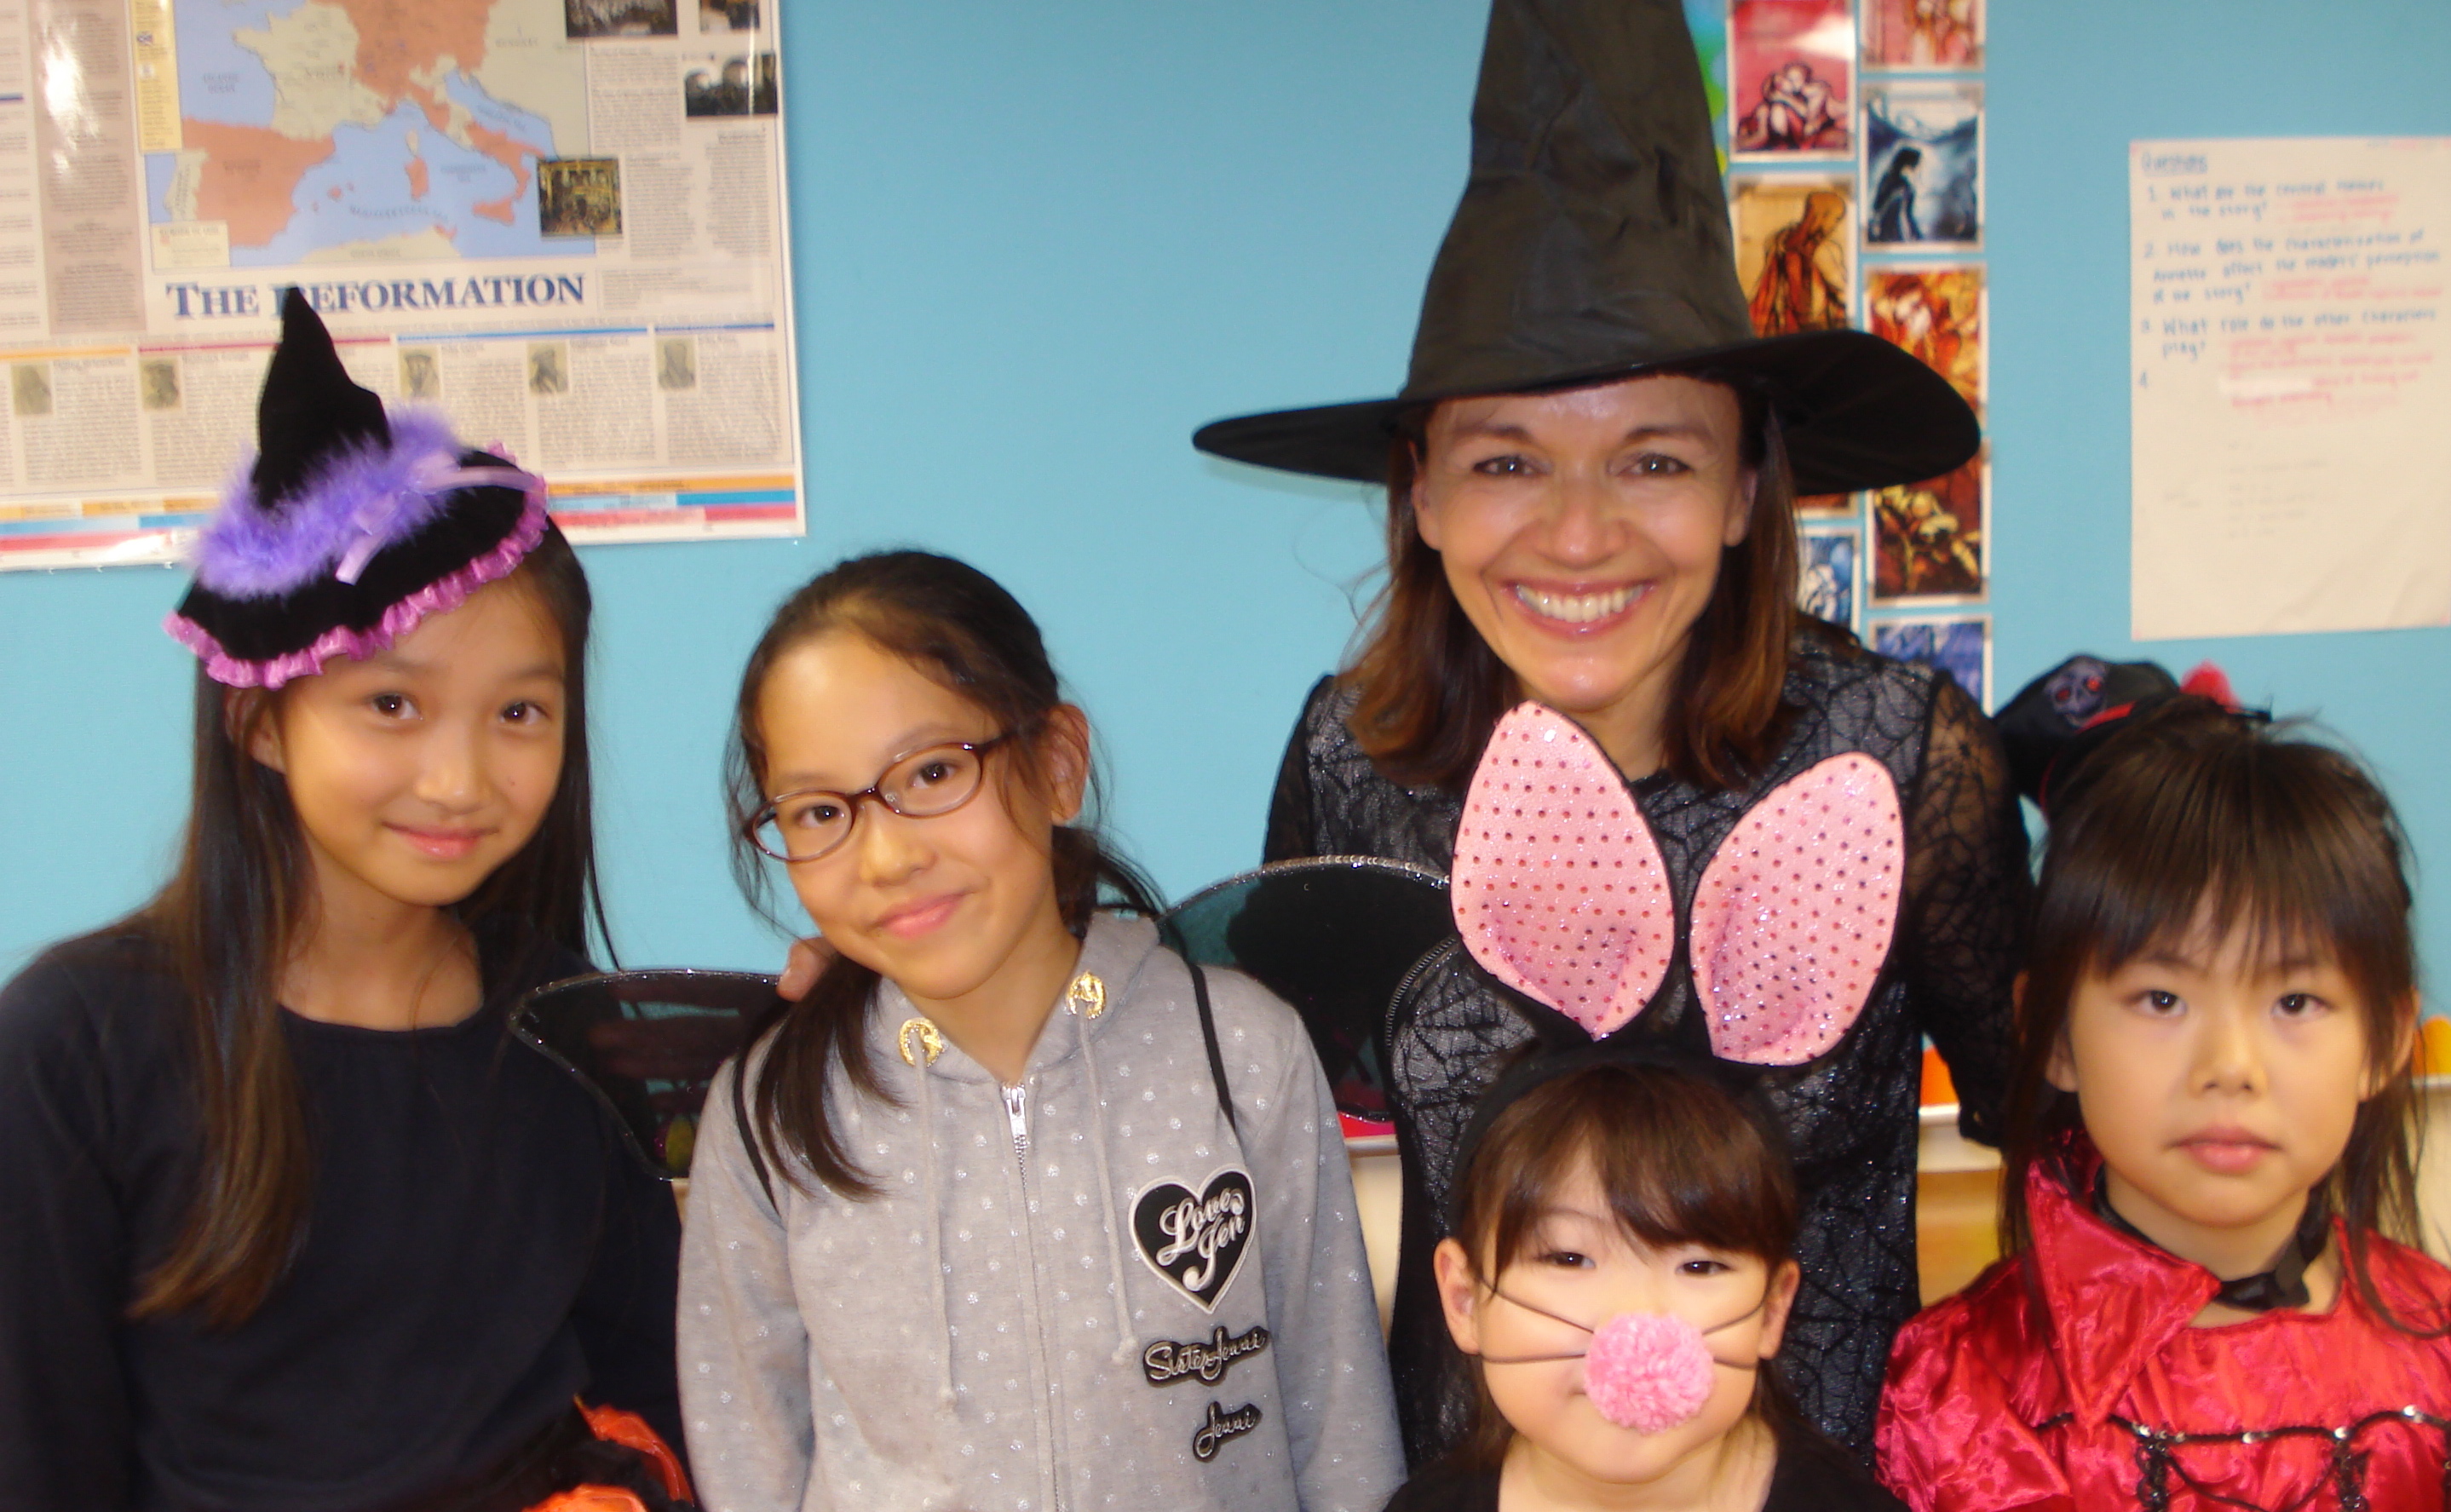
I love Halloween! It’s a time of year when students can use their imaginations and pretend to be many different characters. The photo above shows me with some of my students.
How can your students use their imaginations and expand their creativity?
1. USE VISUALS Build Halloween vocabulary by showing pictures, puppets, or other visuals.
These Halloween characters made from recycled toilet paper rolls are a simple way to get started. This first activity is by Artsy Momma. The second one is by Connect English School. Click on the first picture to find more Halloween activities on our Pinterest page.
Inspired by the outline of students’ hands
2. ADD MOVEMENT IN DIFFERENT WAYS Movement is an important way for children to learn. How do you feel about movement in your classroom? It’s important to teach students the commands “Move!” and “Stop!” Games like Simon Says help students learn this important skill, too.
Your students can create movements like Halloween characters. Hold up a picture card and have students make a “pose” in one place.
Now students can move around a circle. Say, for example, “Abracadabra! Move like a witch!” Students can move like a witch around the circle. This might look like galloping or flying on a broomstick. You might have students move for ten counts. Count to ten. “1-2-3-4-5-6-7-8-9-10” and say “Stop!” Praise students who have stopped moving. Then repeat with other characters.
Here are some suggestions for movement:
Witch: Students pretend to fly on broomsticks by holding their hands in front of their bodies and galloping.
Ghost: Students move their arms smoothly up and down, while walking in curvy pathways around the room.
Bat: Students pull their elbows in to create small wings. They move quickly around the room. My students also like to pretend they’re sleeping bats by folding their arms in and creating an upside-down pose.
Owl: Students stand in one place with their arms down. They turn their heads from side to side.
Black Cat: Students pretend to have whiskers, paws, and a tail. They sneak around with tiptoeing movements. I remind them to be “kind cats.”
3. ADD PROPS Students can also use their imaginations with costumes or props. With a scarf, a student can turn into a prince or princess, ride a witch’s broomstick, or become a spooky ghost. Pieces of fabric can be used over and over again and made into various costumes.
4. ADD MUSIC My Halloween song “I’m A Witch” prompts students to imagine becoming different Halloween characters.
Before we move to the song, we sit down together to listen to it. I sing my transitional song before we start, Come and Sit In Front of Me. I’m happy to provide this FREE professional version for you!
Here are the lyrics to Come and Sit in Front of Me:
Come and sit in front of me,
In front of me, in front of me,
Come and sit in front of me,
In front of me.
(Repeat)
Now you’re ready to listen to I’m a Witch.
Here’s a simple version of the song. (A more professional version is available below.)
Spoken: Let’s be witches and fly on our broomsticks.
Hee! Hee! Hee! I’m a witch!
Hee! Hee! Hee! I’m a witch!
Hee! Hee! Hee! I’m a witch!
Happy Halloween!
Spoken: Let’s be ghosts and float gently through the air.
Boo! Boo! I’m a ghost! (3X) Happy Halloween!
Spoken: Let’s be bats and fly through the night sky.
Eeek! Eeek! I’m a bat! (3X) Happy Halloween!
Spoken: Let’s be owls and turn our heads from side to side.
Whoo! Whooo! I’m an owl! (3X) Happy Halloween!
Spoken: Let’s be black cats. Put on your whiskers and sneak around.
Meow! Meow! I’m a black cat! (3X) Happy Halloween!
Show students images of each of the characters in the song as it plays. Using visuals is important — especially for students learning English. This is an important first step in learning the vocabulary in the song.
Whenever students are moving in your classroom, check to make sure that everything is safe. Push chair legs in, and move things out of the way.
Now students make a circle and move around it. Hold up pictures of each character if they need more practice. Now play the music! Remind students to stop after each character, and listen for the new cues.
If your classroom isn’t conducive to a lot of movement, have each student choose one character for movement. You can have students draw this picture, or pass out small picture cards.
I hope that your students have as much fun as mine do with this song!
Check out the professional version of “I’m a Witch” available on iTunes and CDBaby. Just click on the title below:
Featuredimage courtesy of hin255/ FreeDigitalPhotos.net.
One of the “big ideas” we teach young learners is the concept of change. Babies grow up. Children can mark their height and see how they are changing. Little seeds planted in the ground in our little paper cups grow into plants. Small pumpkins grow into big pumpkins. Caterpillars turn into butterflies.
Halloween is filled with magical changes. Children put on costumes, and “change into” a princess, Spiderman, a witch, a ghost, or a character from their favorite Disney movie.
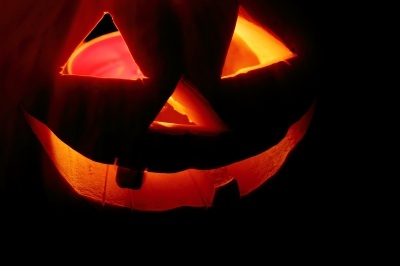
When we think of Halloween, we see the magical change of pumpkins into jack-o-lanterns. When possible, I love to purchase a pumpkin for Halloween and teach children how to carve it into a jack-o-lantern.
In the classroom, it’s easy for students to use craft projects to show both a pumpkin and a jack-o-lantern. For a very simple art project, trace the outline of a pumpkin on orange construction paper. Students cut out the shape. With colored pencils or crayons, they draw the ridges of the pumpkin on one side, and a face of a jack-o-lantern on the other.
For more pumpkin craft ideas, check out my Pinterest page with simple cooking and craft ideas.
Here’s a simple chant to teach the words “pumpkin” and “jack-o-lantern.”
Show the students the plain side and say “pumpkin.” Then turn it around and say “jack-o-lantern.” Once students know these two words, put it into this simple chant:
Pumpkin, Pumpkin (words adapted by Kathleen Kampa, music: traditional)
(Sit with students in a small circle. Sing quietly.)
Pumpkin, pumpkin, small and fat, (With fingers, make the shape of a small pumpkin.)
Turn into a jack-o-lantern, (Roll hands. Spread fingers out wide.)
Just like that! (Tap two fingers on the palm of your hand as you say each word.)
(Sing the verse again!)
Spoken: Grow and grow and grow and grow
and grow and grow and grow and GROW! (Slowly stand up while making a big pumpkin shape. If you’re standing in a circle with the students, make it bigger. Get louder! Crescendo!)
(Sing loudly.)
Pumpkin, pumpkin, big and fat, (While standing, make the shape of a big pumpkin with your whole body.)
Turn into a jack-o-lantern, (Turn around. Jump into a big shape.)
JUST LIKE THAT! (Clap and stamp on each word.)
(Sing the verse again!)
Here is a simple recording of the song to let you hear the melody and rhythm.
For a professional version of this song and other Halloween songs I’ve written, click here.
I’d love to see your children singing and dancing to this song. I’d love to see their cute jack-o-lanterns. Share this idea with your friends. Tell me how you’ve used this with your students.
It’s October and we’re busy singing and dancing to Halloween songs. My students love getting up and moving to a song! At this time of year, we’re marching like monsters, skipping like skeletons, waltzing like witches, and jumping like jack-o-lanterns. If you want to find more Halloween songs, you can find teaching notes for songs like “Marching Monsters” on earlier blogs on this site.
On this blog, however, I want to share a handout and flash cards made by my good friend Setsuko Toyama. Setsuko is a well-known teacher trainer and author in Japan. On her worksheet, students match the same initial sound of the words, an important skill in developing phonemic awareness. They also have fun playing with alliteration, words that begin with the same sound. Many American nursery rhymes feature alliteration.
I like having my students do craft projects from time to time. While they’re busy creating their artwork, I play music to fit the holiday. Kathy Kampa’s Special Days and Holidays CD has several Halloween songs that children can easily sing along to for your Halloween parties.
Check out my Pinterest page for lots of Halloween craft activities.
Skeleton Dance is definitely one of my students’ favorite songs! It teaches various body parts and directional movements. You can start your school day with it, use it during break time, dance it on a rainy day, move during a health unit, or dance it on Halloween. I have taught Skeleton Dance to students in kindergarten through upper elementary, and everyone enjoys it. I’ve also shared this song with teachers in America, Japan, Korea, Mexico, Taiwan, Thailand, Vietnam, and Indonesia.
You can watch some of my students here in Japan doing the Skeleton Dance, and read the lyrics below:
Here’s how you do the Skeleton Dance:
In this song, students will move four different body parts: shoulders, elbows, knees, and feet.
First, students move their shoulders to the beat.
1. Move your shoulders . . .
A. Skeleton, skeleton, skeleton dance, Move your shoulders, do the skeleton dance. Skeleton, skeleton, skeleton dance, Move your shoulders, do the skeleton dance.
Next, students move their whole bodies to the front, to the back, and to the side. I usually start by moving only my arms, but my students love to jump in each direction.
B. To the front, to the back, to the side, side, side, To the front, to the back, to the side, side, side,
Next, students move their shoulders up, down, and around. Each time they repeat the song, they will move a different body part in these directions.
C. Put your shoulders up. Put your shoulders down. Move them up and down and all around. Put your shoulders up. Put your shoulders down. Move them up and down and all around.
Finally, students move their shoulders in their own way.
This dance is repeated with the following body parts.
Before I play the music, my students and I figure out how we’ll move up, down, and around using each of these body parts.
2. Move your elbows . . .
3. Move your knees . . .
4. Move your feet . . .
You can download this song from iTunes (Track #15) or CD Baby.
I hope that your students enjoy this as much as mine do.
While our summer was filled with many opportunities to enjoy the nature of Minnesota, it was also a busy time of successfully completing my MA degree. Now we have time to share many more ideas with you!
On our second day back at school, my Grade One students found a giant grasshopper outside of our classroom. It was as big as a praying mantis. We took it into our classroom. What an exciting way to begin our new school year!
Giant grasshopper
Children are fascinated with living creatures–especially insects and other mini-beasts. While some children may be a bit timid about holding certain insects, most seem to enjoy them.
Here are a couple of activities that you can easily do in your classroom.
1.Simple, Invented Songs
It’s easy to nurture creativity in young learners through music. Try “playing” with words.
Here’s a simple pattern to create a song or chant.
Students choose three insects for their song, usually one shorter word, and two longer words.
When young children sing, they often use so and mi in their invented songs. You can use so and mi for this song, too.
My students think it’s funny to sing the negative form of this. I don’t like ______. I hate bugs!
Another activity to help students play with words is to repeat the first consonant of a word, such as /b/ /b/ /b/ /b/ Bees! Bees!
2. Stories
I love using stories with my students–especially predictable ones. A predictable story uses repetition, similar to the way a song might have a chorus. It might have repeated words, phrases, sentences, and other patterns. New characters, new events, and other surprises keep the children guessing about what’s going to happen next.
Story: The Very Busy Spider by Eric Carle
This story shows how a spider gradually spins a web. In my edition of this book, students can also feel the change in the web as it gets bigger. You can read the book to your students in a traditional manner, but you can use the pictures in the book like flash cards to help you tell the story.
A. Pre-read by looking at the pictures of the animals in the book. You can chant this pattern, or sing it to the melody of “The Farmer in the Dell.”
The horse says “Neigh!” The horse says “Neigh!” Let’s play together. “Neigh! Neigh! Neigh!”
Many animals visit the spider, but the spider continues to spin the web.
Repeat with the other animals from the story (cow, sheep, goat, pig, dog, duck, rooster).
The cow says “Moo!” The cow says “Moo!” Let’s play together. “Moo! Moo! Moo!”
The phrase for the rooster is longer than the rest.
“Cock-a-doodle-doo!” “Cock-a-doodle-doo!” Let’s play together. “Cock-a-doodle-doo!”
B. Now add the following chant pattern.
(But the spider said . . . ) Sorry. I’m busy. I’m spinning a web. Busy, busy, busy. I’m spinning a web.
Add gestures to help children remember the language. Change your voice to express the sounds of the animals.
C. Now I “read” the story by showing the children the pictures of the animals and singing the animal songs. I show students the web in the book. With a small class, students can feel the texture of the web on the page. On subsequent readings, you can draw the web on a whiteboard as the story progresses by drawing a couple of lines at a time. If your students can sit in a circle, you can even create a yarn web by passing a ball of yarn from one student to one across on the other side.
D. At the very end, an owl comes and the spider is sleeping.
Whisper . . . .
The spider was busy, but she’s sleeping now. Sh! Sh! Be quiet! She’s sleeping now.
*Another fun predictable story with insects and animals is Lily and the Moon by Mari Nakamura and Patricia Daly Oe.
3. Find It!
You can look for insects outside with your students. You can also find them in books! In Magic Time One, Unit One, Annie and Ted are outside playing. In addition to finding the target vocabulary, students can look for animals and insects on these pages too. They can find a dragonfly, grasshopper, rabbit, turtle, frog, squirrel, bird, butterfly, and caterpillar. We love to add little surprises for the students to discover.
Enjoy this season of insects and mini-beasts! Happy teaching!